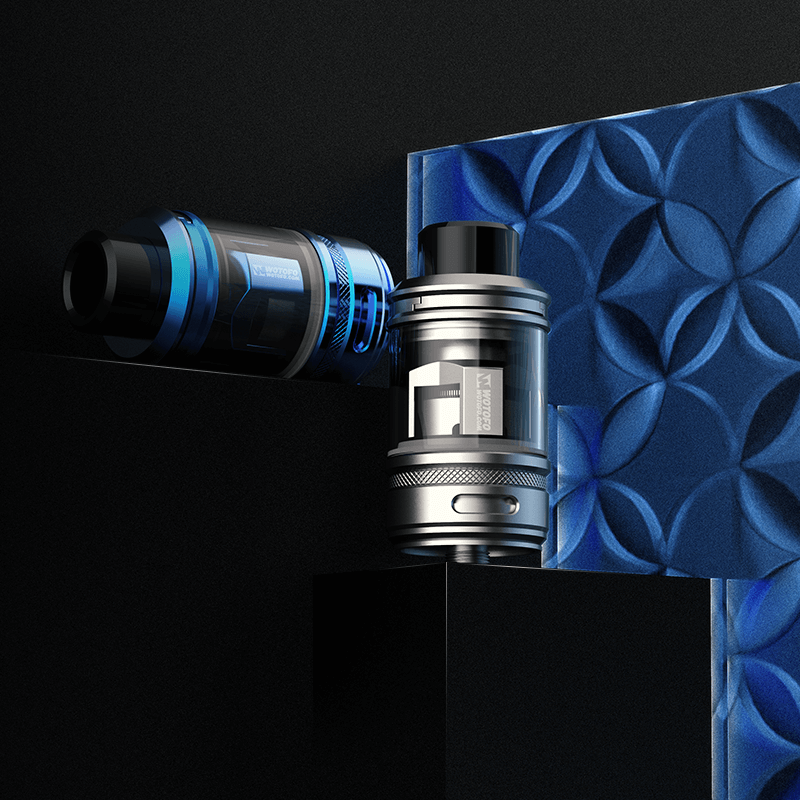
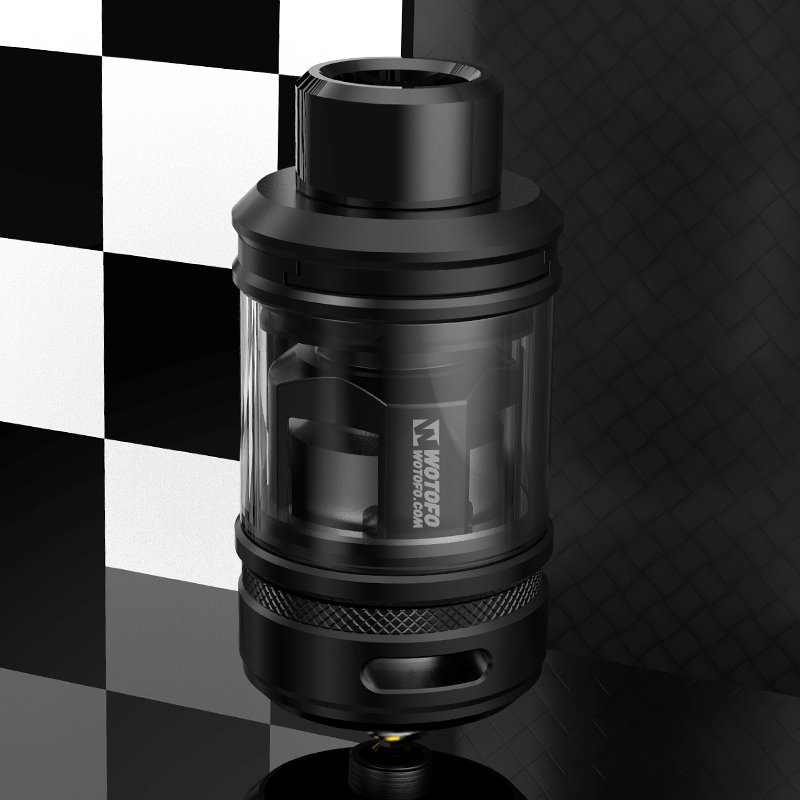
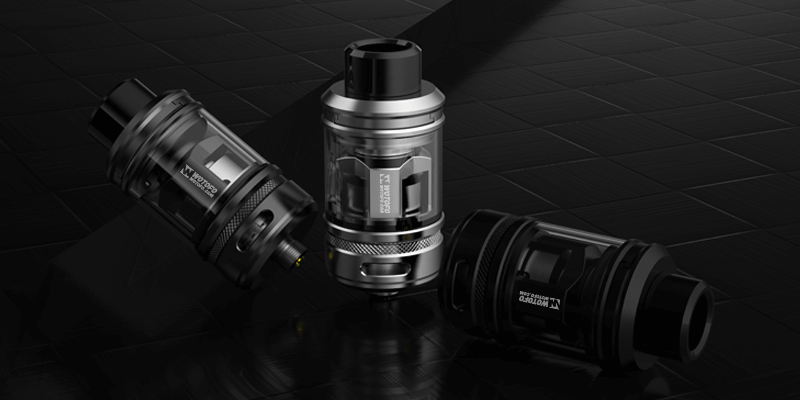
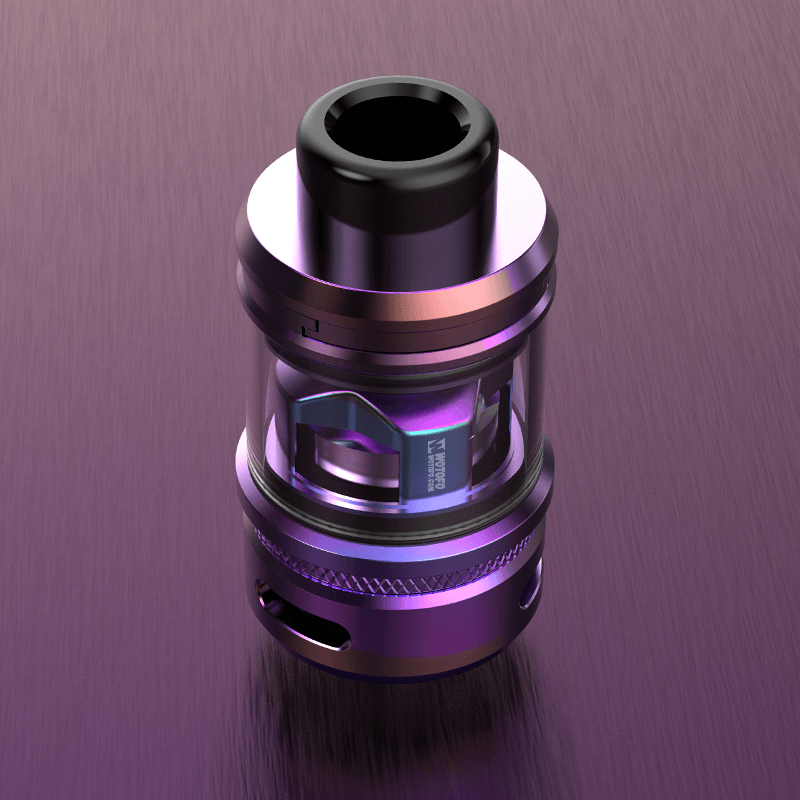
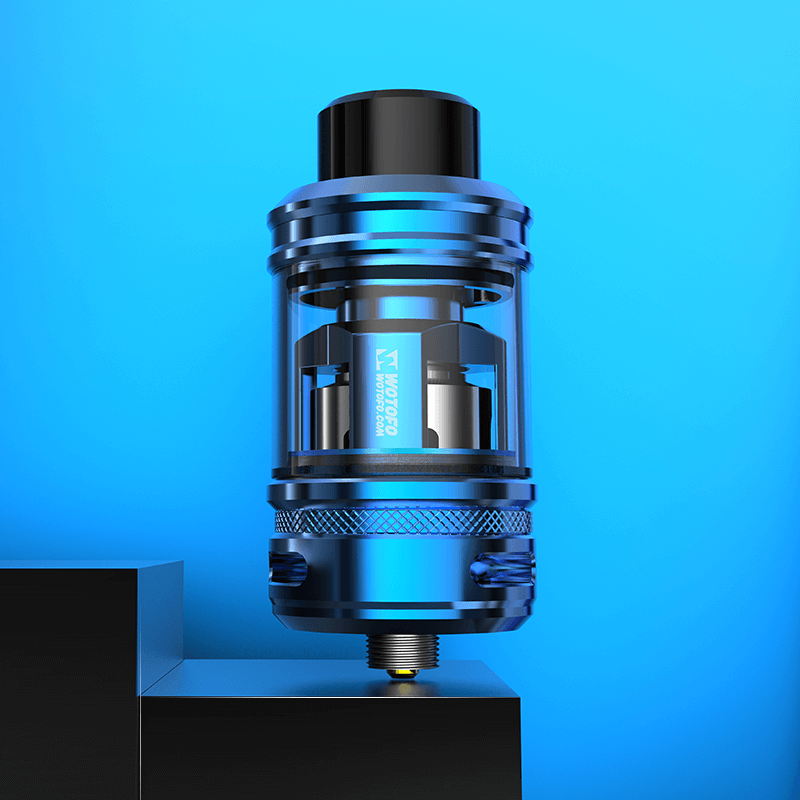
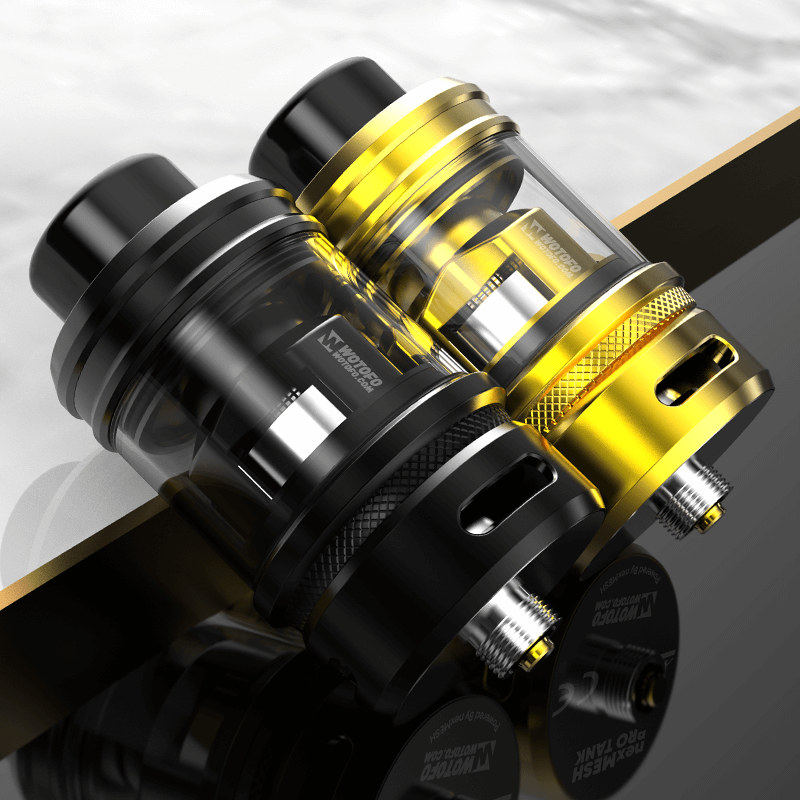
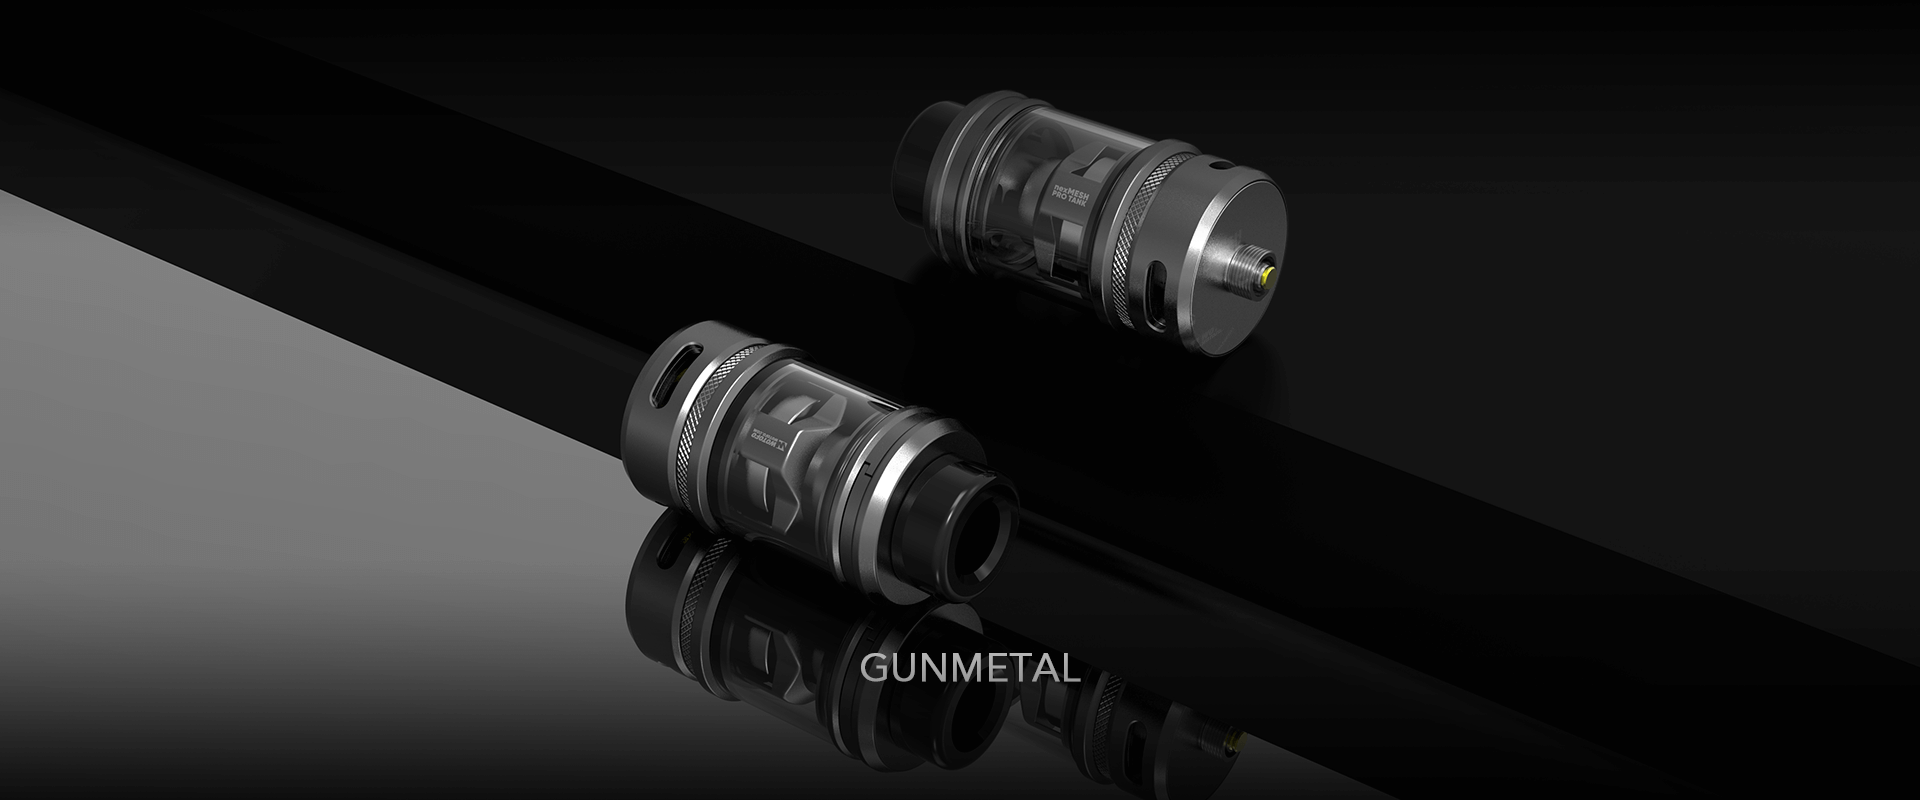
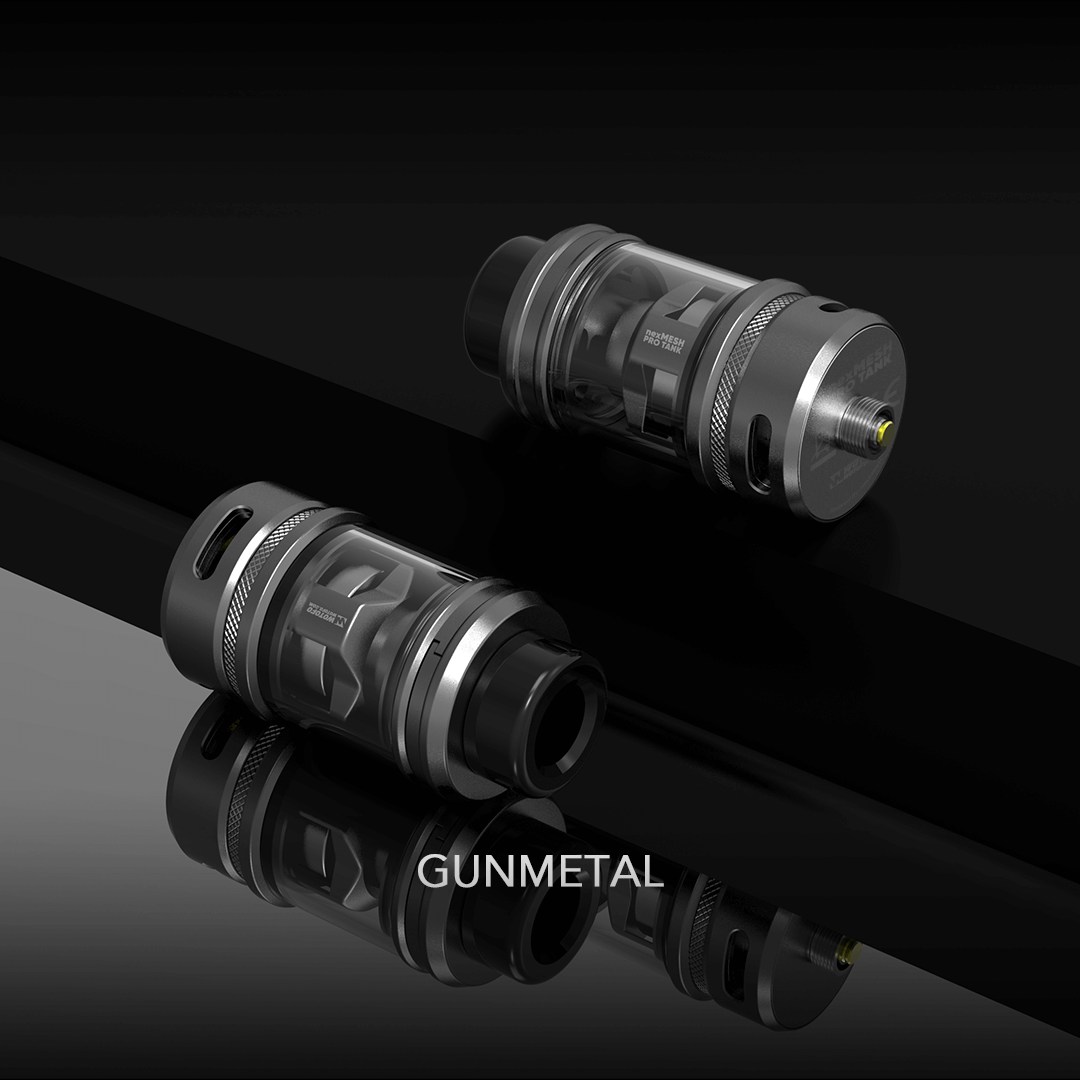
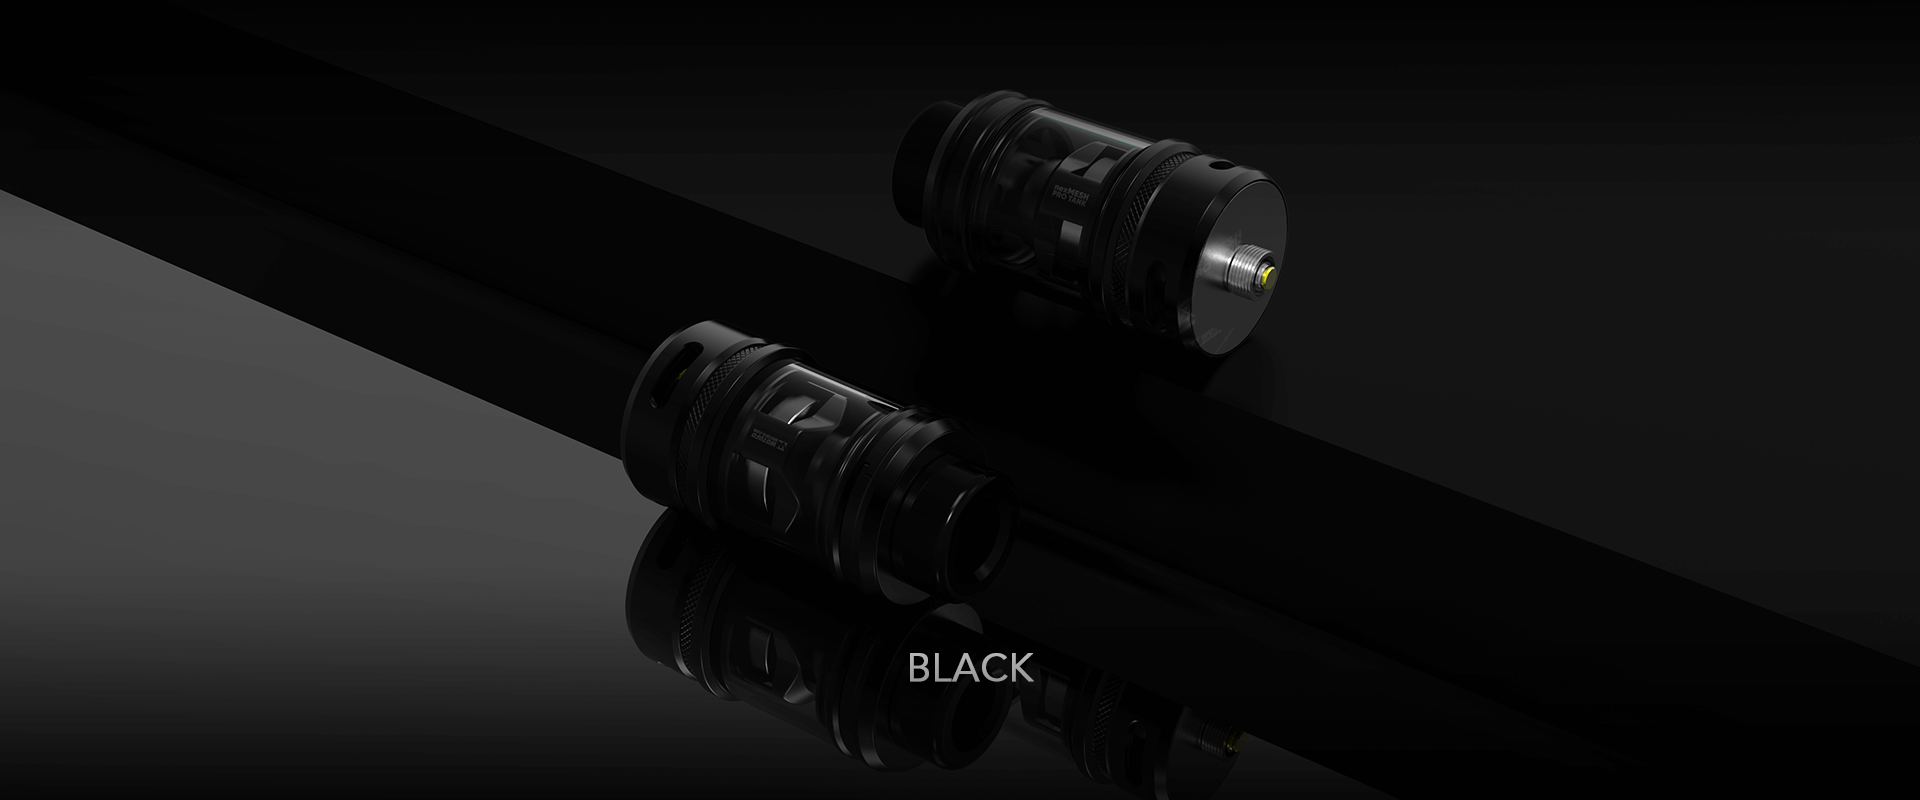
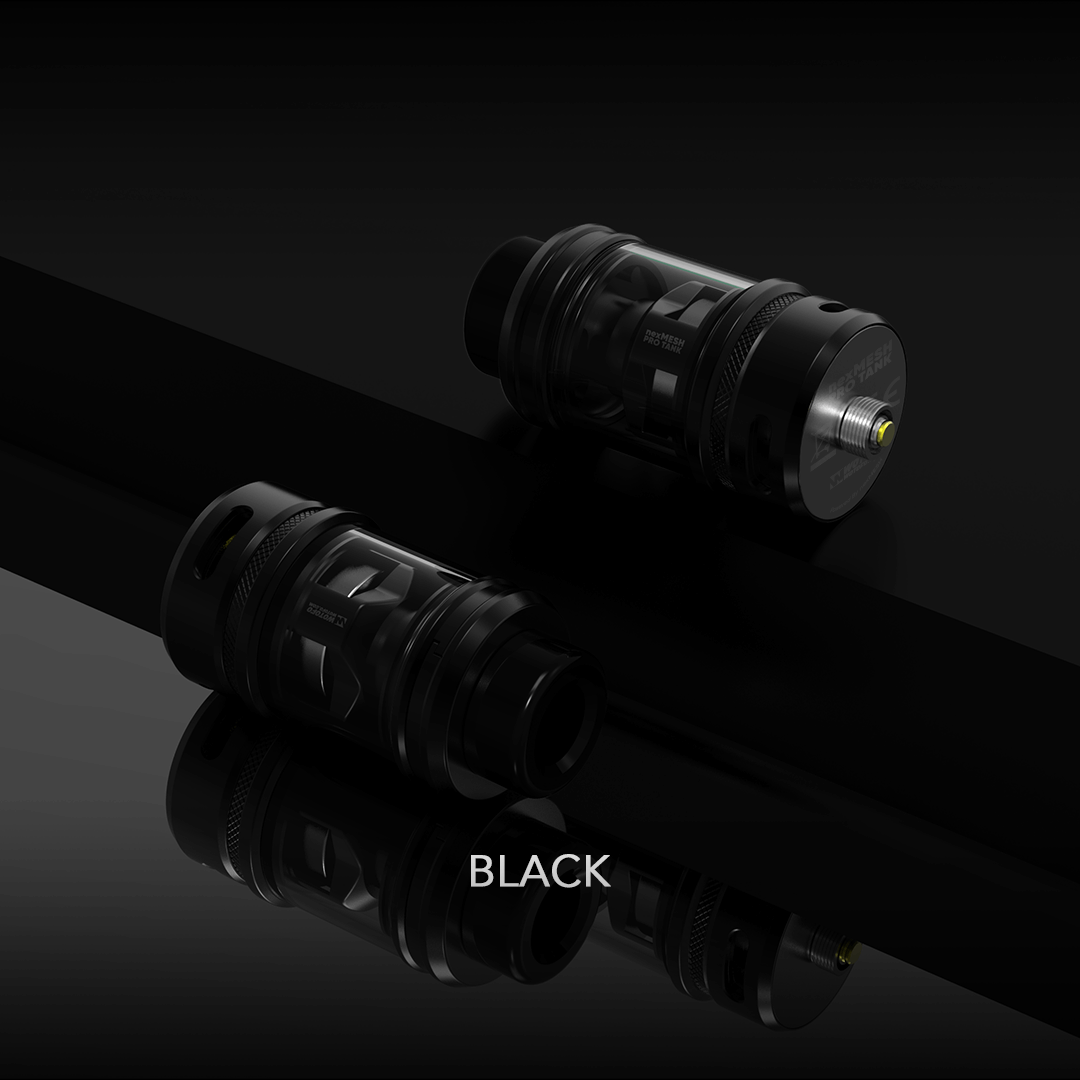
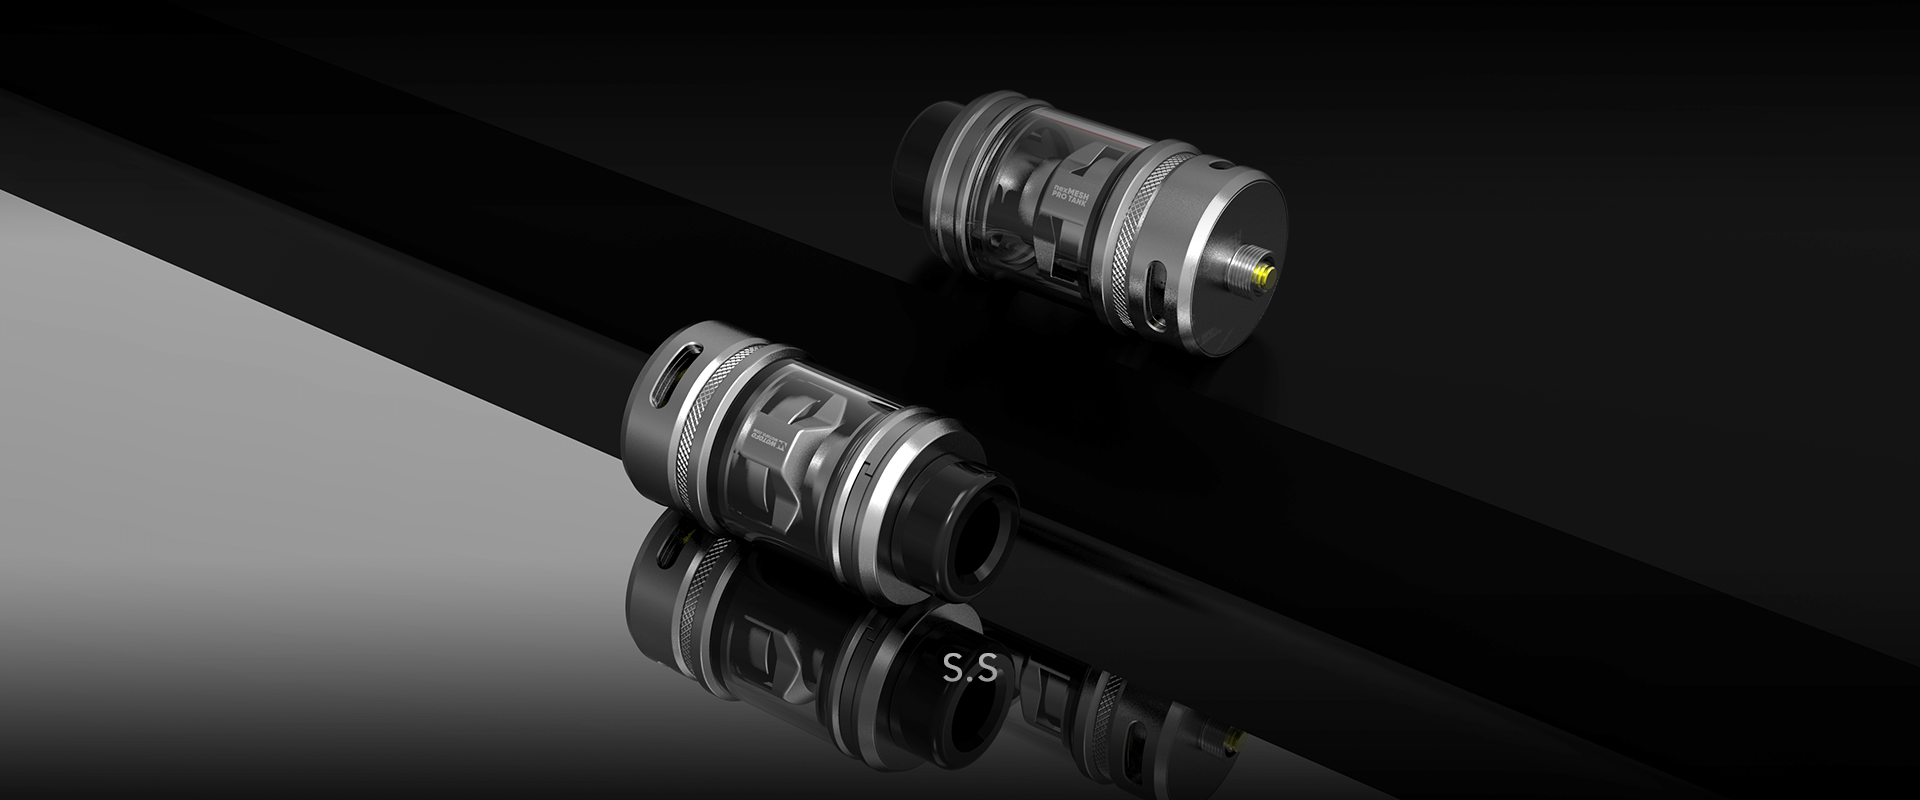
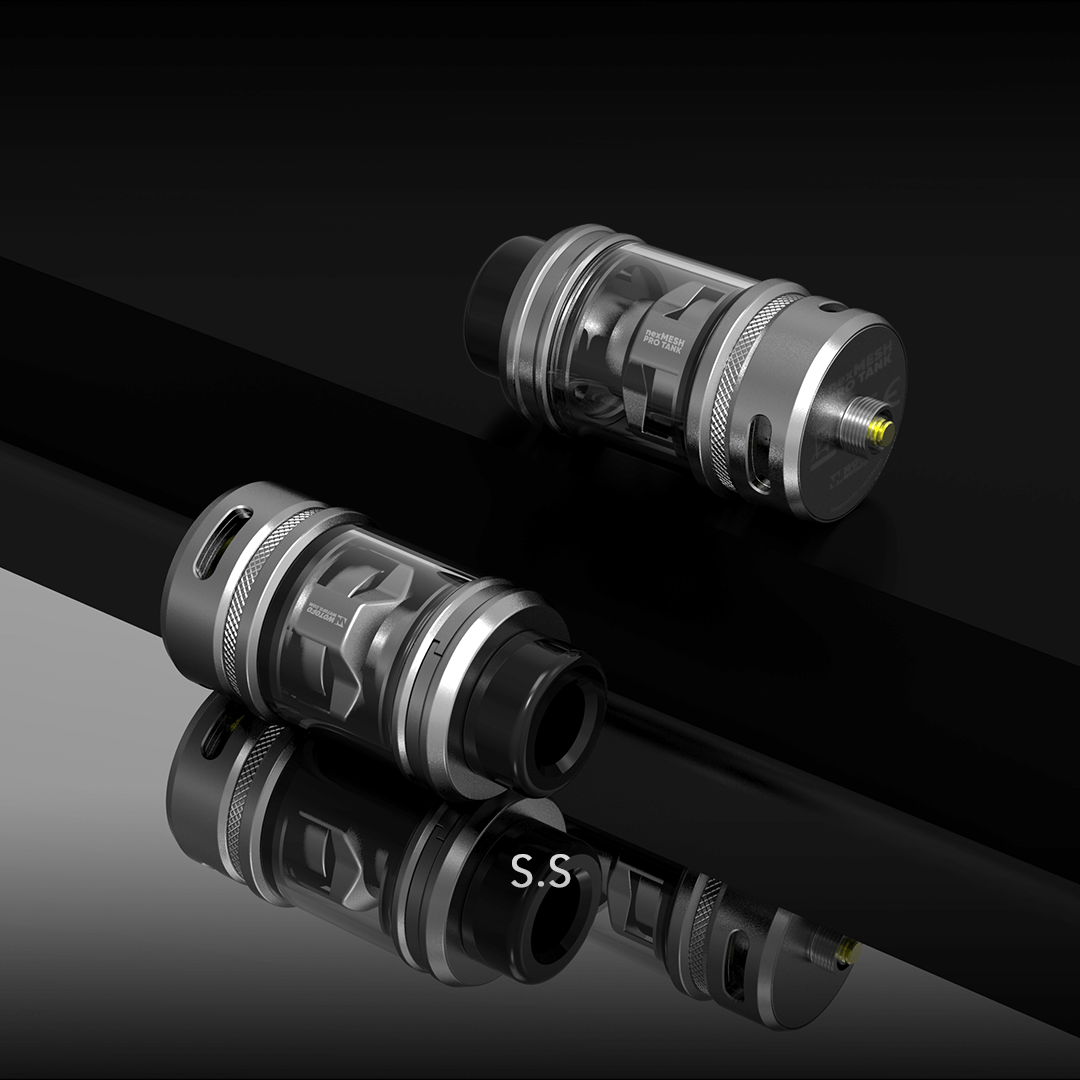
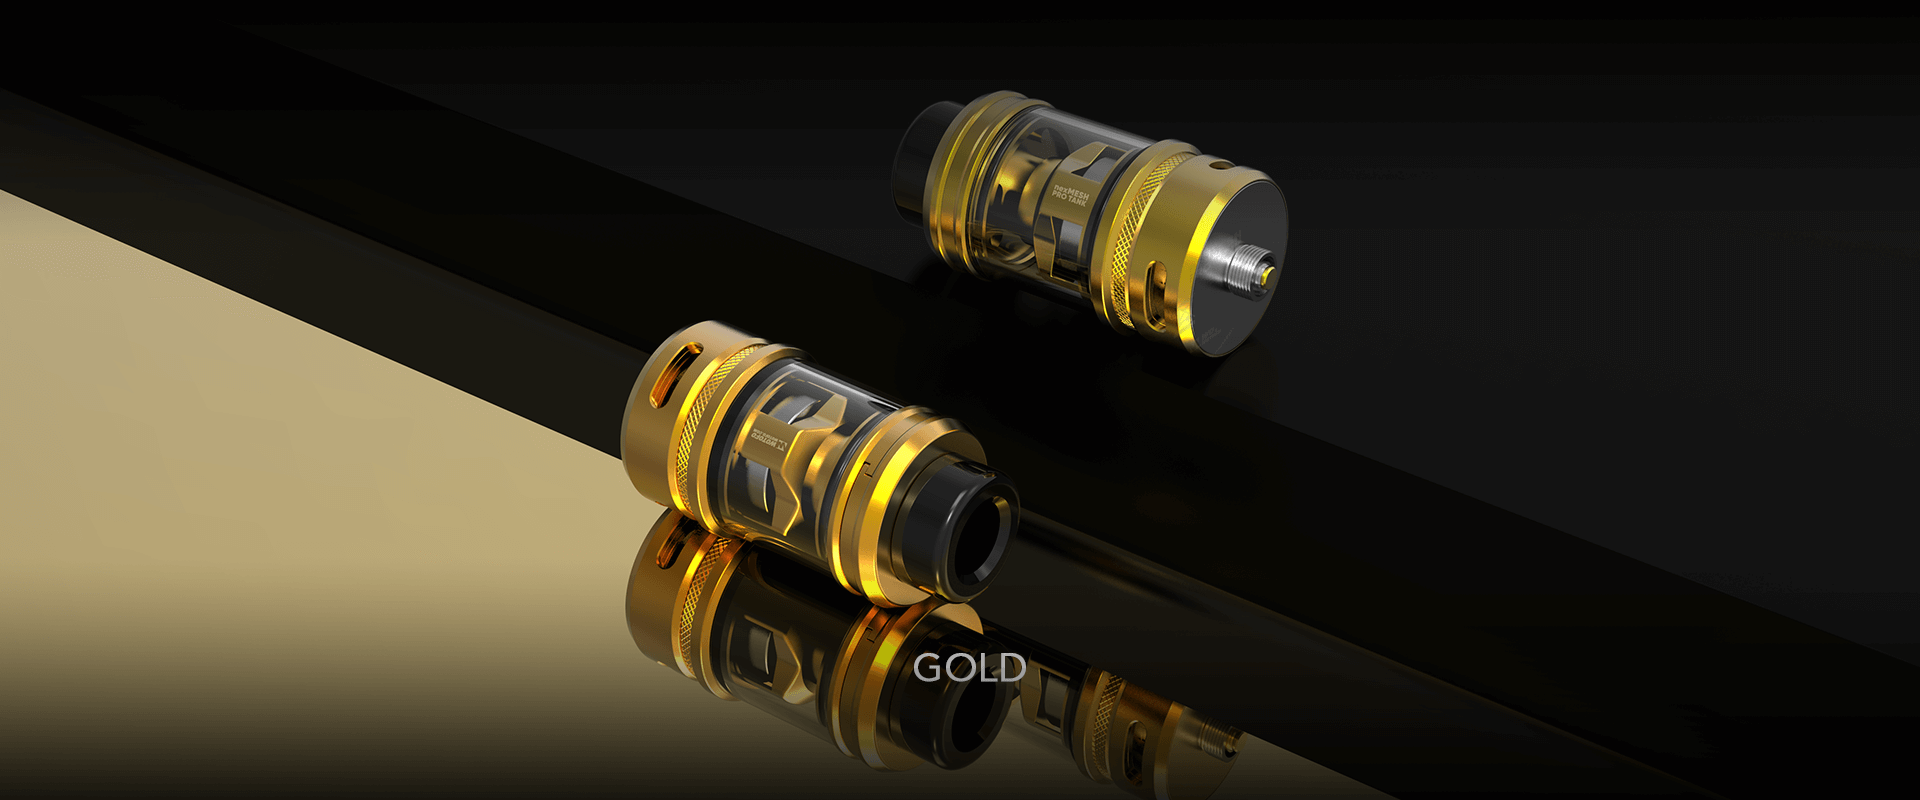
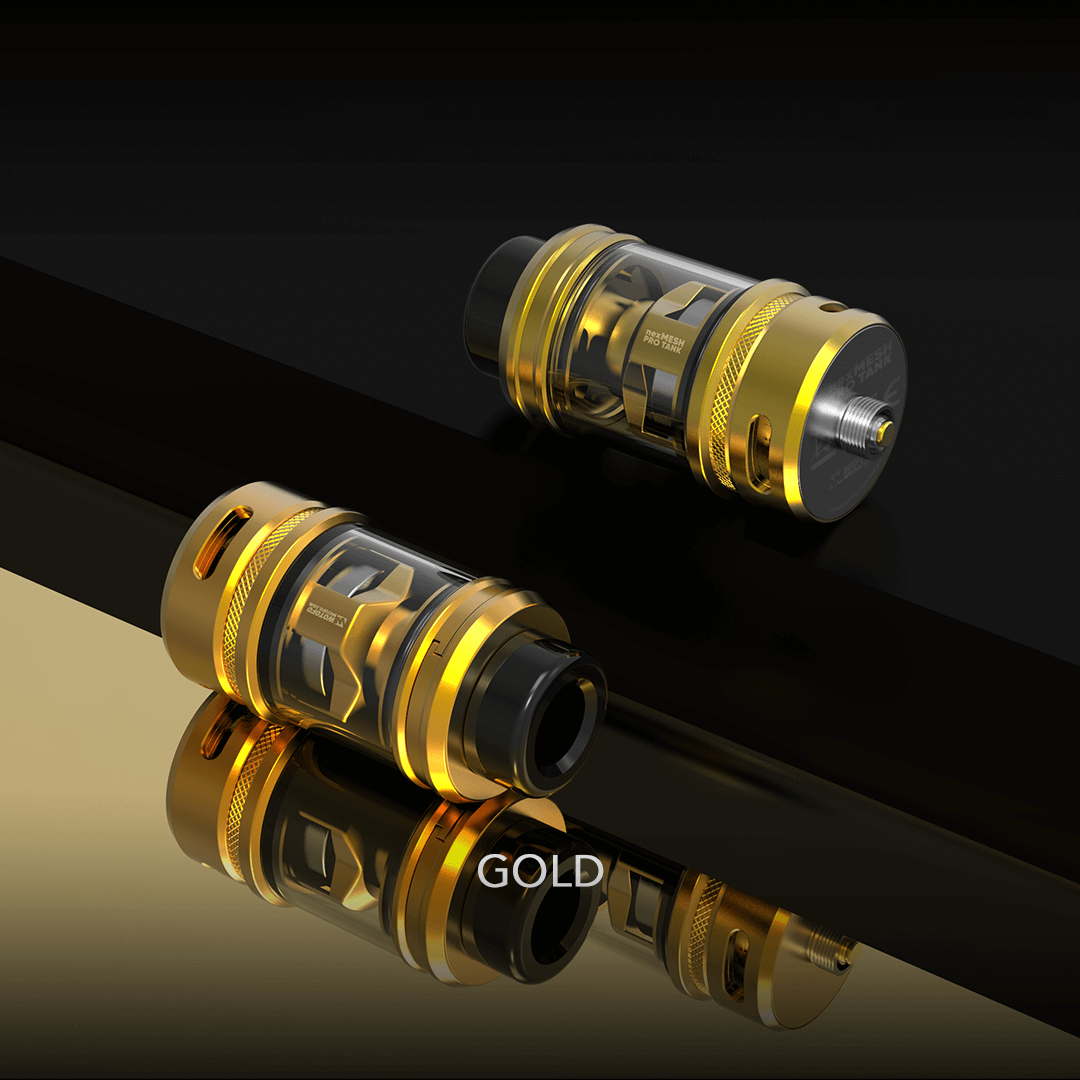
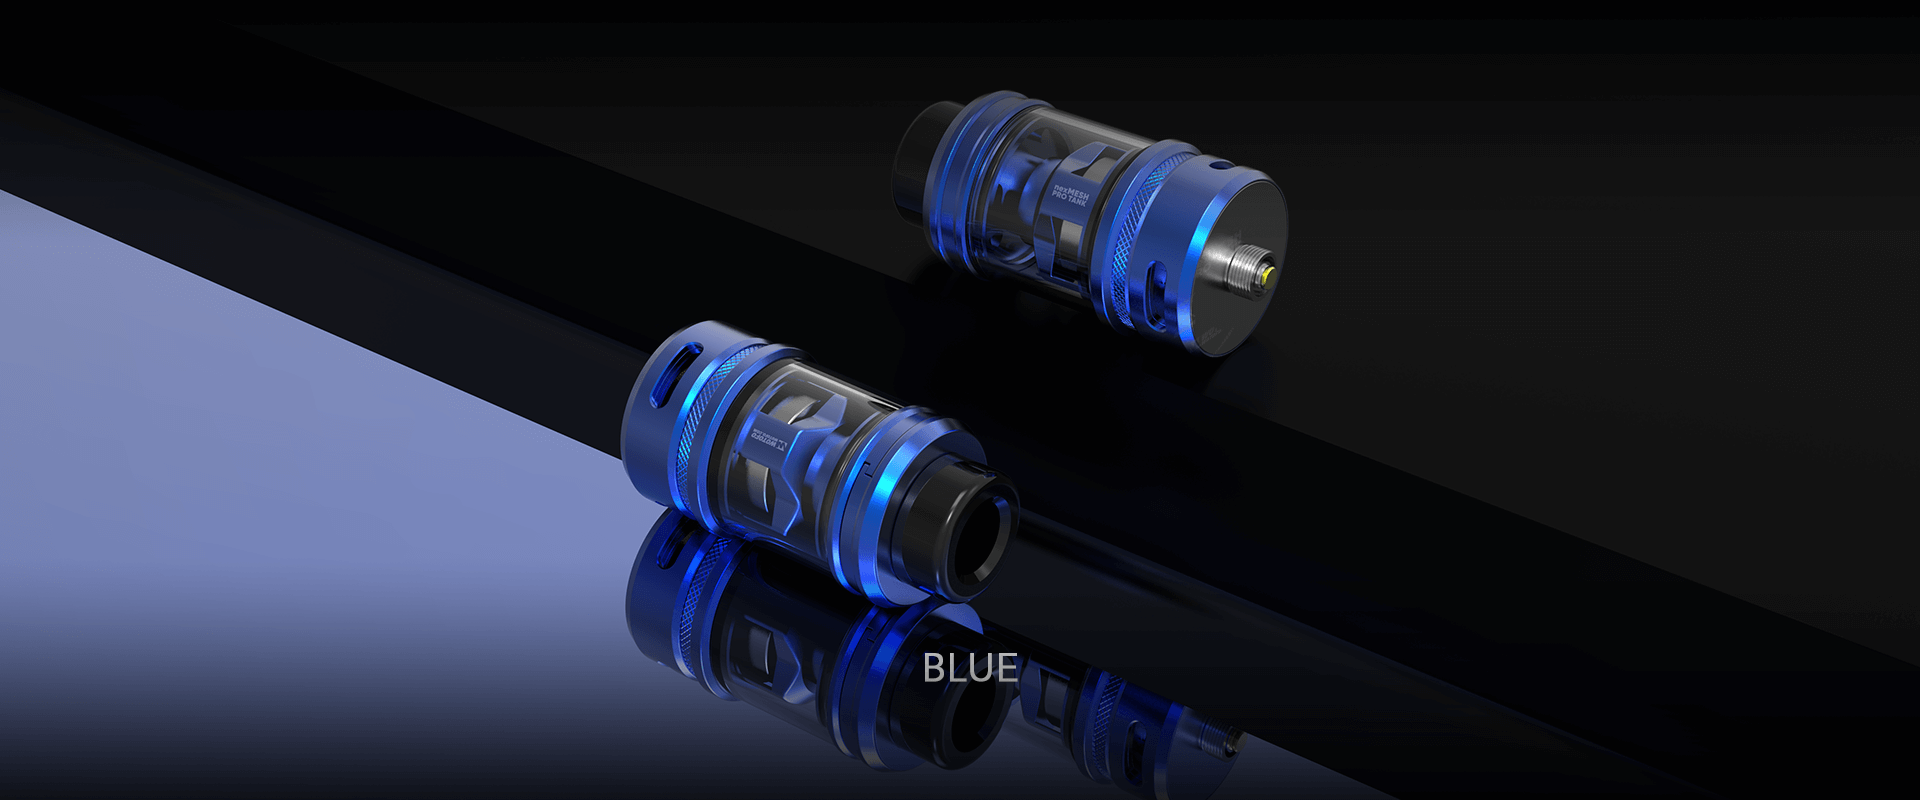
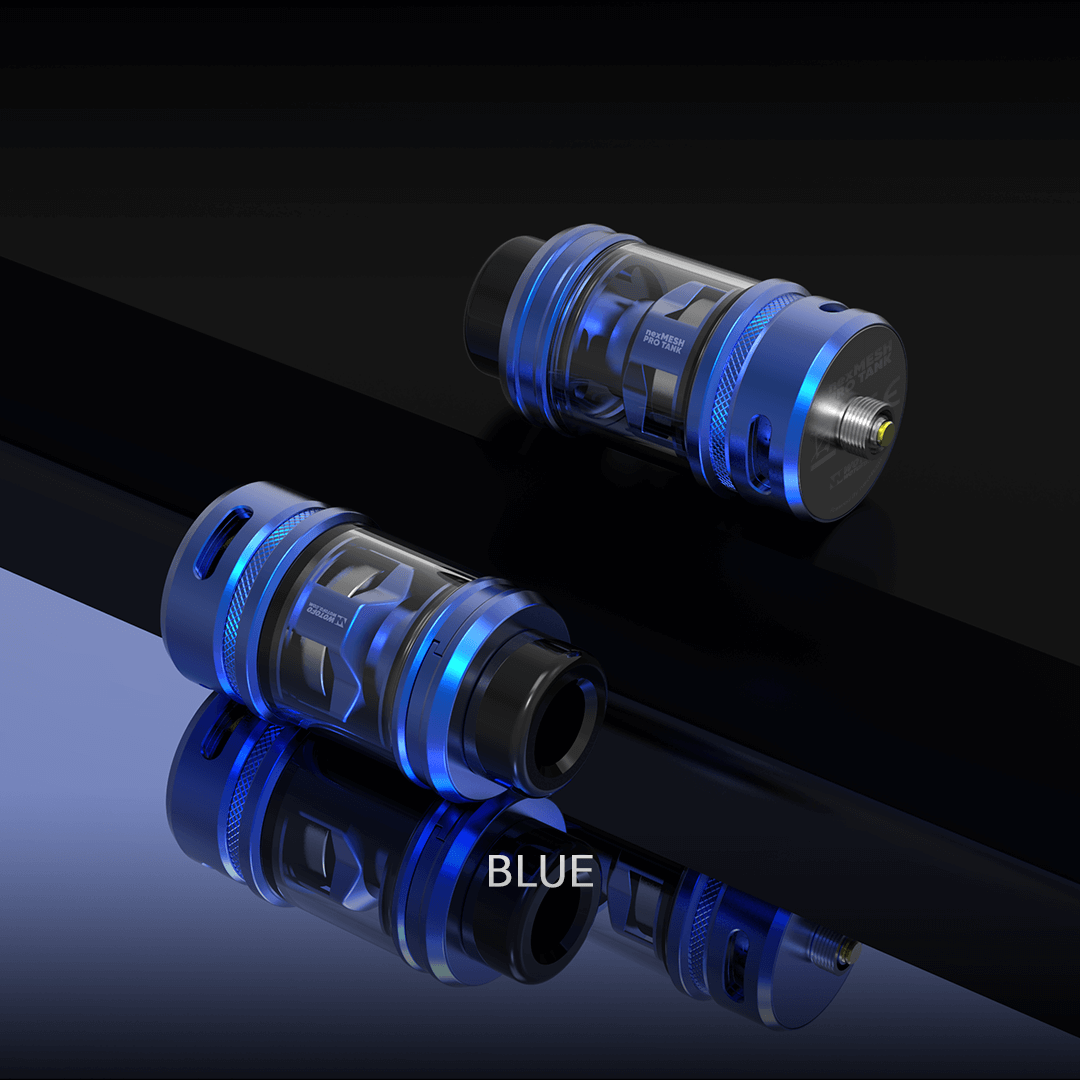
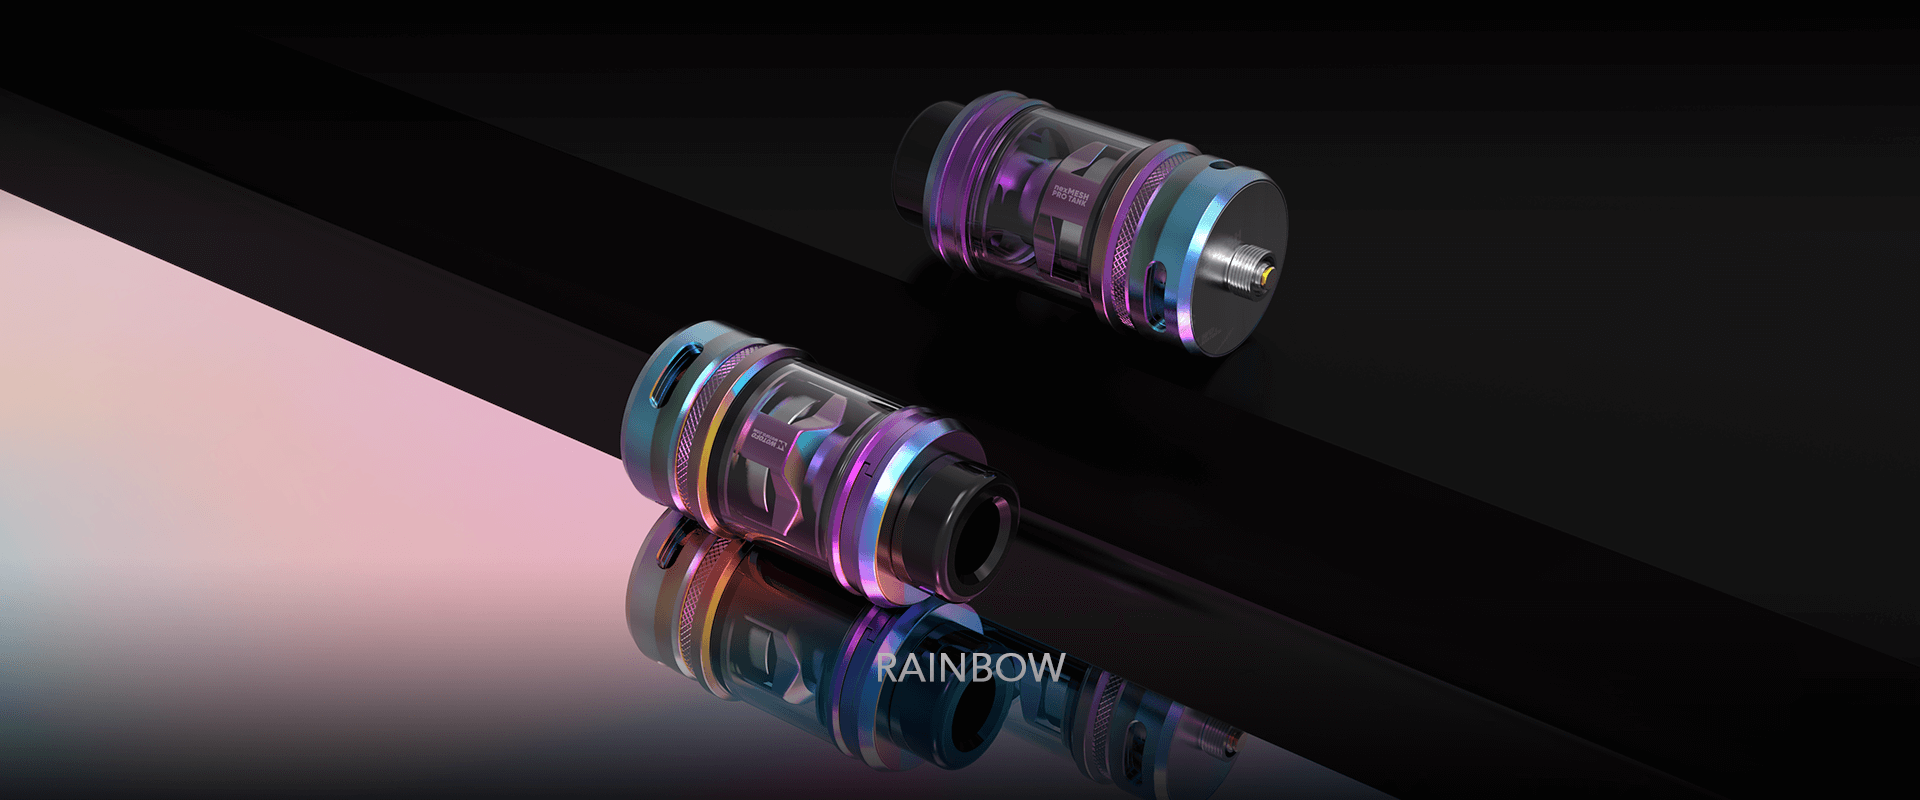
COLORS AVAILABLE
PRODUCT INFORMATION
Upgraded from nexMESH Sub Ohm Tank, nexMESH Pro Tank keeps its killer conical heating core structure while taking some redesigns to introduce much daring vaping experience for vapers.

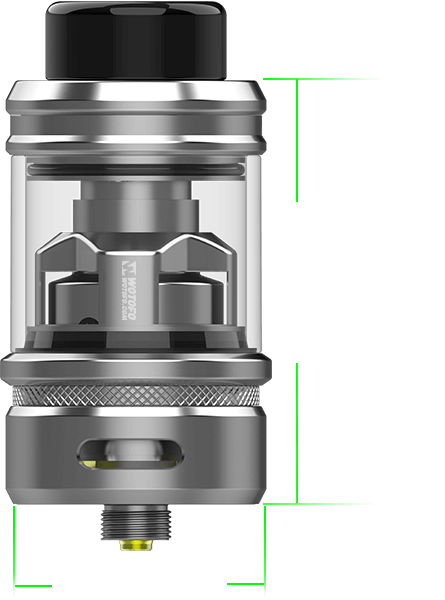
Product Name: nexMESH Pro Tank
Tank Size: Φ24*42.85mm (without drip tip & 510 pin)
Tank Capacity: 4.5ml straight PCTG tube / 6ml bubble glass tube (with single coil
replacement head)
3.5ml straight PCTG tube / 5ml bubble glass tube (with dual coil
replacement head)
Drip Tip: 810 Delrin Drip Tip
Wattage Range: 50-80W
Filling Method: top filling
Airflow Type: adjustable bottom airflow
Threading: 510 thread
Net Weight: 72±3g
Colors Available: Black, SS, Gunmetal, Gold, Blue, Rainbow

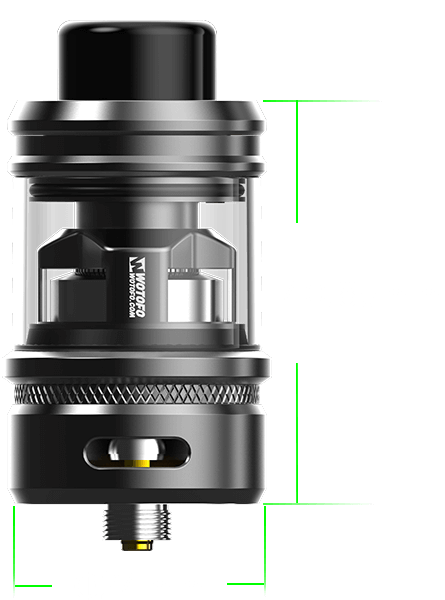
Product Name: nexM Pro Tank
Tank Size: Φ24*40.85mm (without drip tip & 510 pin)
Tank Capacity: 3.5ml straight PCTG tube / 5ml bubble glass tube (with single coil
replacement head)
2ml straight PCTG tube / 4ml bubble glass tube (with dual coil
replacement head)
Drip Tip: 810 Delrin Drip Tip
Wattage Range: 50-80W
Filling Method: top filling
Airflow Type: adjustable bottom airflow
Threading: 510 thread
Net Weight: 72±3g
Colors Available: Black, SS, Gunmetal, Gold, Blue, Rainbow

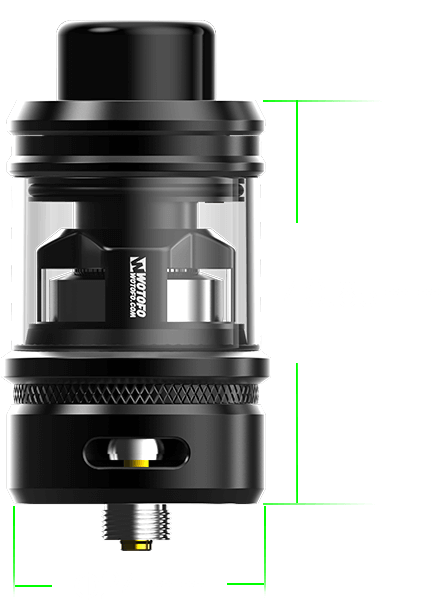
Product Name: nexM Pro Tank
Tank Size: Φ24*40.85mm (without drip tip
& 510 pin)
Tank Capacity: 2ml straight PCTG tube / 4ml bubble glass tube
Drip Tip: 810 Delrin Drip Tip
Wattage Range: 50-80W
Filling Method: top filling
Airflow Type: adjustable bottom airflow
Threading: 510 thread
Net Weight: 72±3g
Colors Available: Black, SS, Gunmetal, Gold, Blue, Rainbow
What’s in the package
nexMESH Pro Tank x1
H15 Mesh & Parallel Coil Combo Head (pre-installed) x1
H12 Clapton Mesh Coil Head x1
Bubble Glass Tube x1
Accessory Bag x1
User Manual x1

What’s in the package
nexM Pro Tank x1
H15 Mesh & Parallel Coil Combo Head (pre-installed) x1
H12 Clapton Mesh Coil Head x1
Bubble Glass Tube x1
Accessory Bag x1
User Manual x1

What’s in the package
nexM Pro Tank x1
H15 Mesh & Parallel Coil Combo Head x2 (one pre-installed)
Bubble Glass Tube x1 (packaged separately)
Accessory Bag x1
User Manual x1

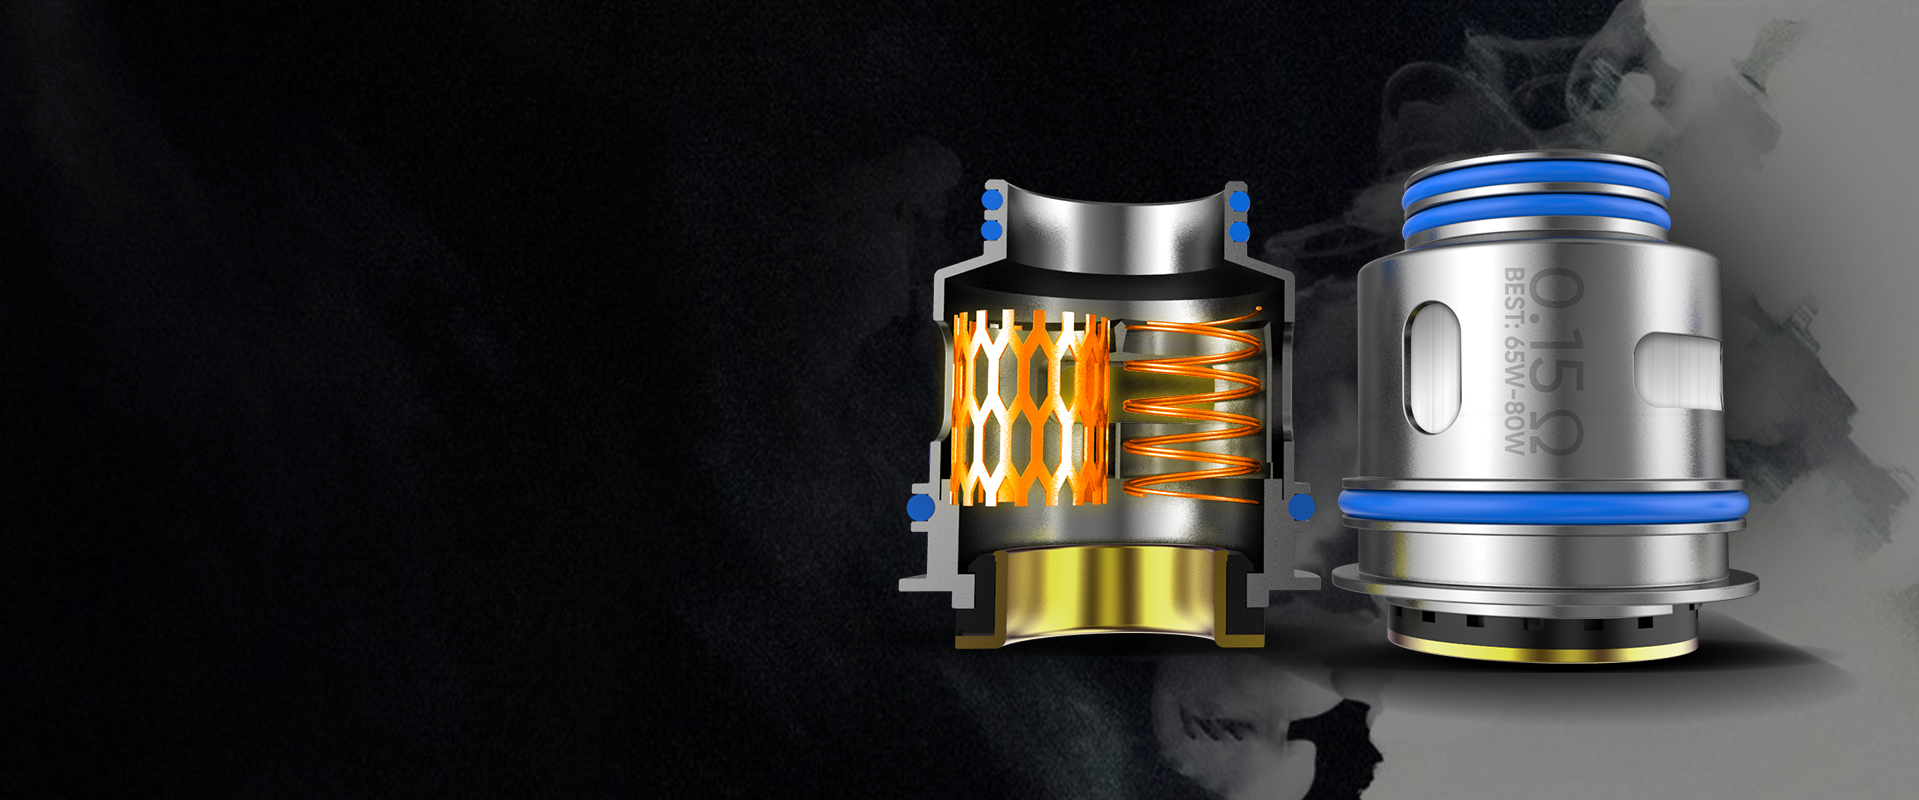
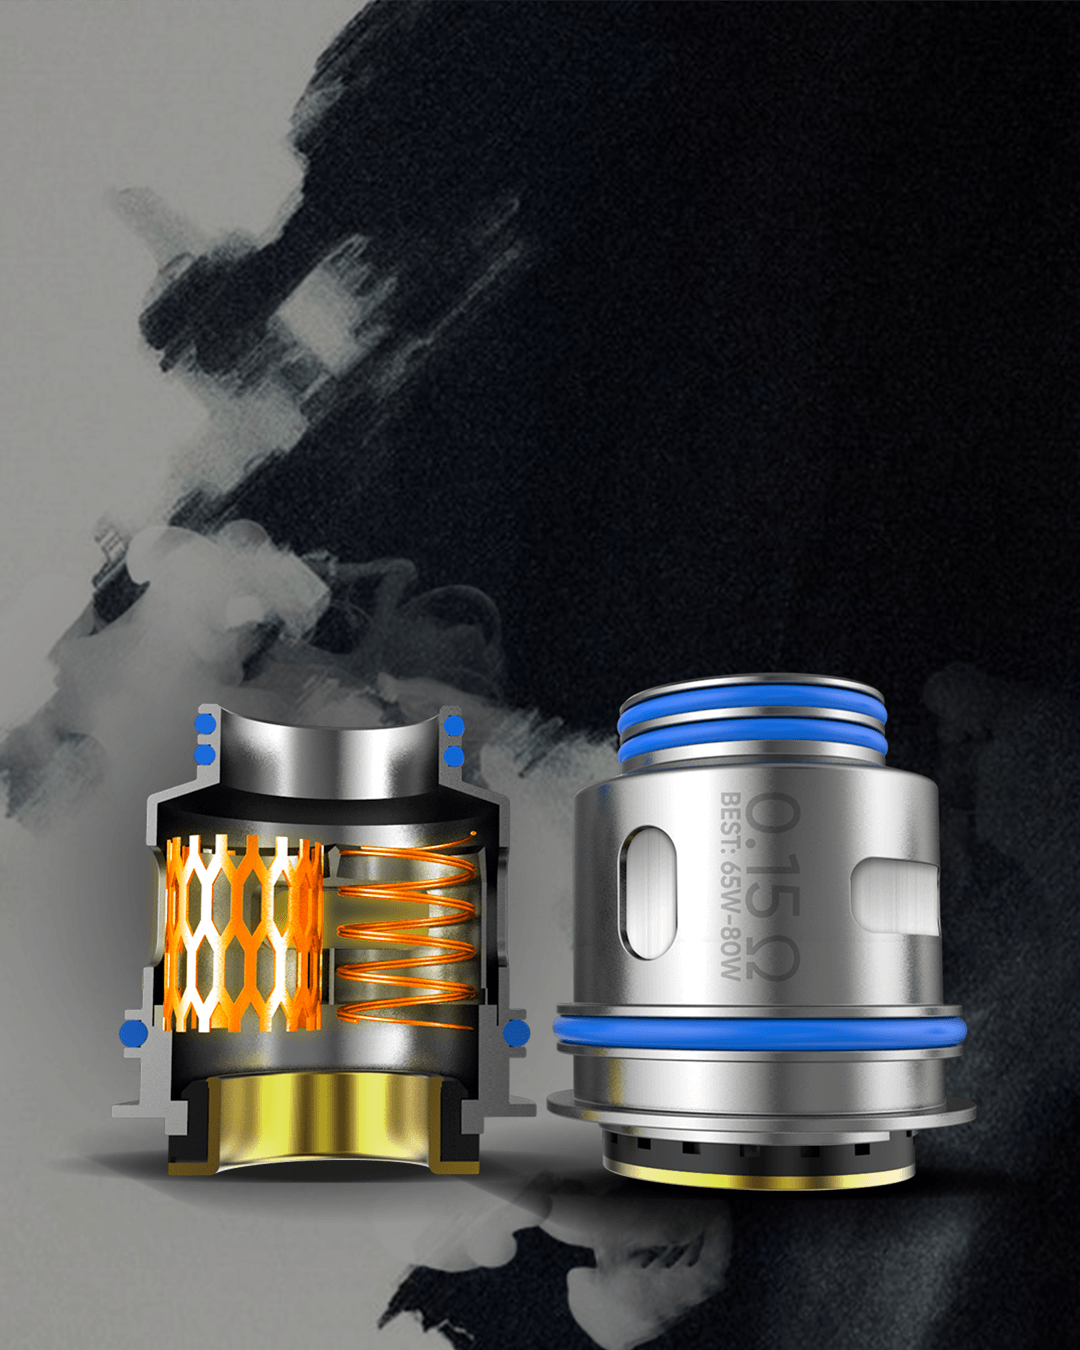
#H15 Single MESH & Parallel Coil
Pairing a mesh coil with a parallel wire coil, this Mesh & Parallel Coil heating head can burst unparalleled flavor with ultra-direct sensations to your taste buds.
Resistance: 0.15Ω
Power Range: 50-80W
Best At: 65-80W
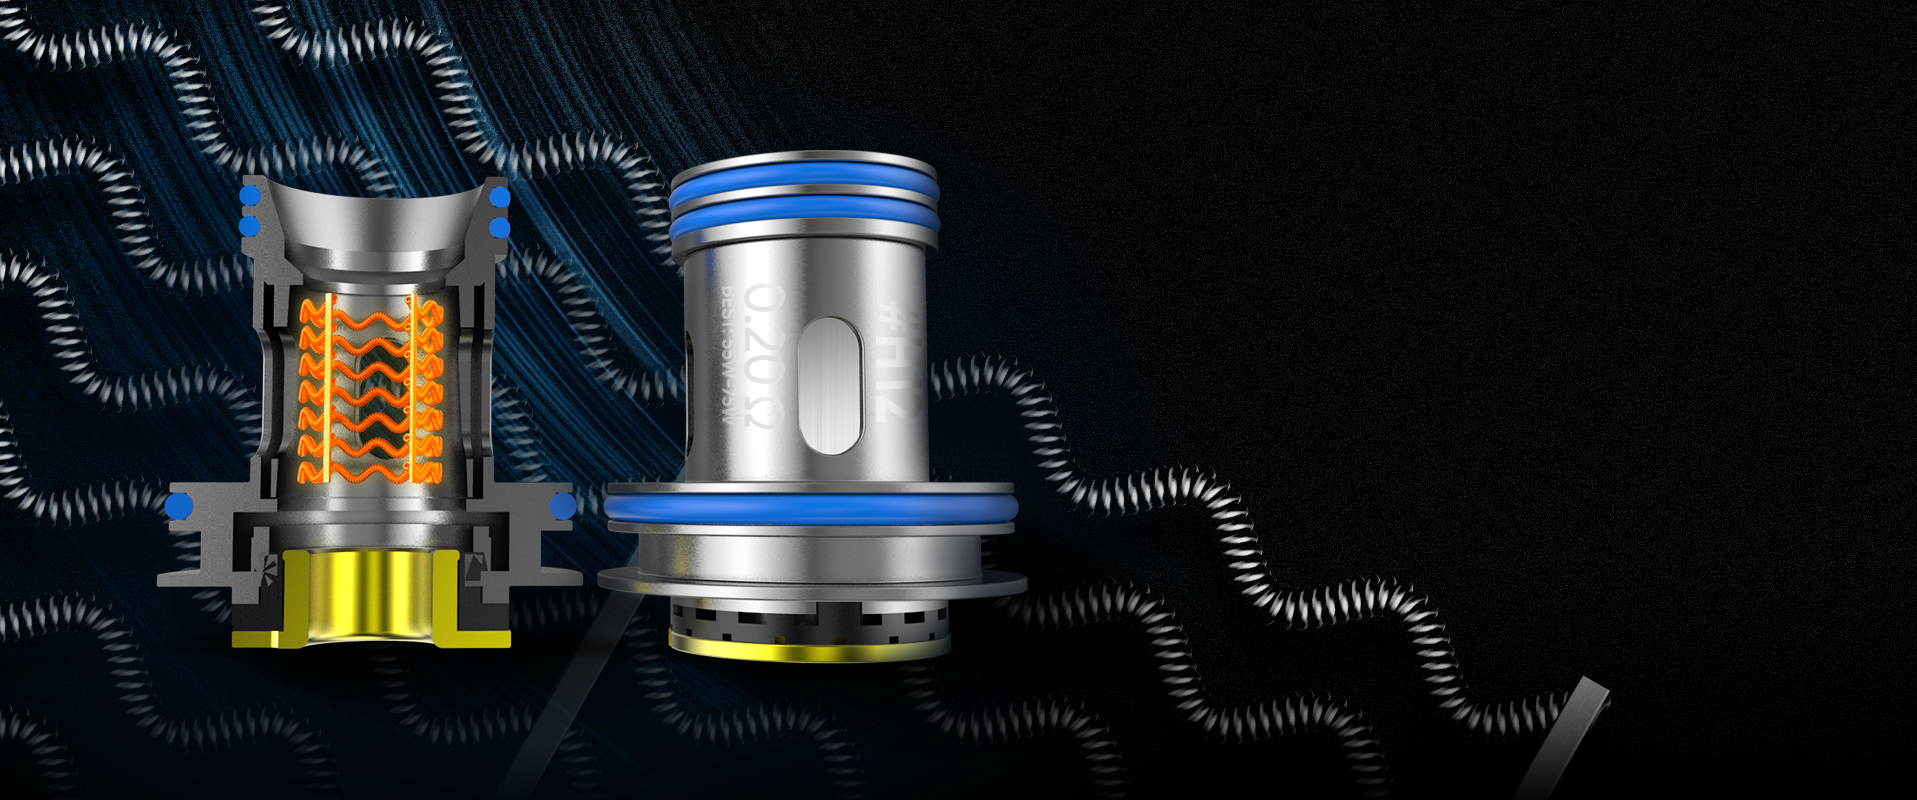
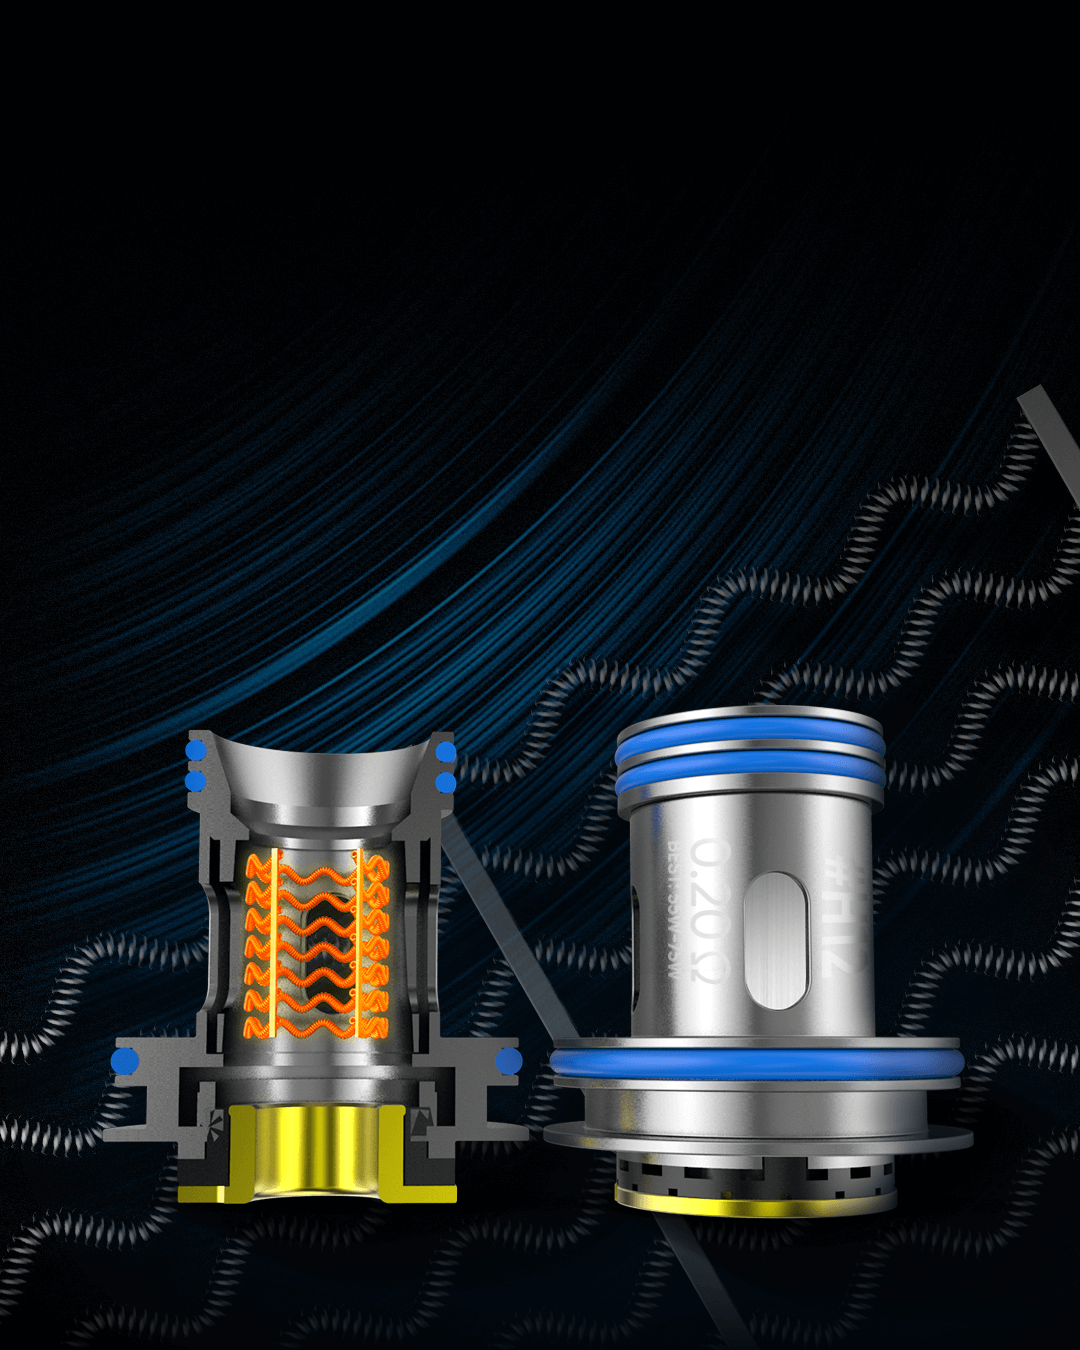
#H12 Clapton MESH Coil
Formed into mesh style, the Clapton uses A1 inner wire that is wrapped by Ni80 outer wire to create a brand new vaping experience.
Resistance: 0.20Ω
Power Range: 40-75W
Best At: 55-75W
#H18 Triple Mesh Coil
Triple mesh coil structure, forming a triangle mesh heating network inside, producing thicker vapor while keeping amazing flavor.
Resistance: 0.15Ω
Power Range: 65-95W
Best At: 80-90W
(Sold separately)


#H19 Wire & Mesh Quad Coil
Combining dual parallel coils with dual mesh coils together, the H19 Wire & Mesh Quad Coil balances wire coil’s intense heating with mesh coil’s soft heating, then doubles their performance in flavor to provide full and richer sensations in every draw.
Resistance: 0.15Ω
Power Range: 65-95W
Best At: 80-90W
(Sold separately)


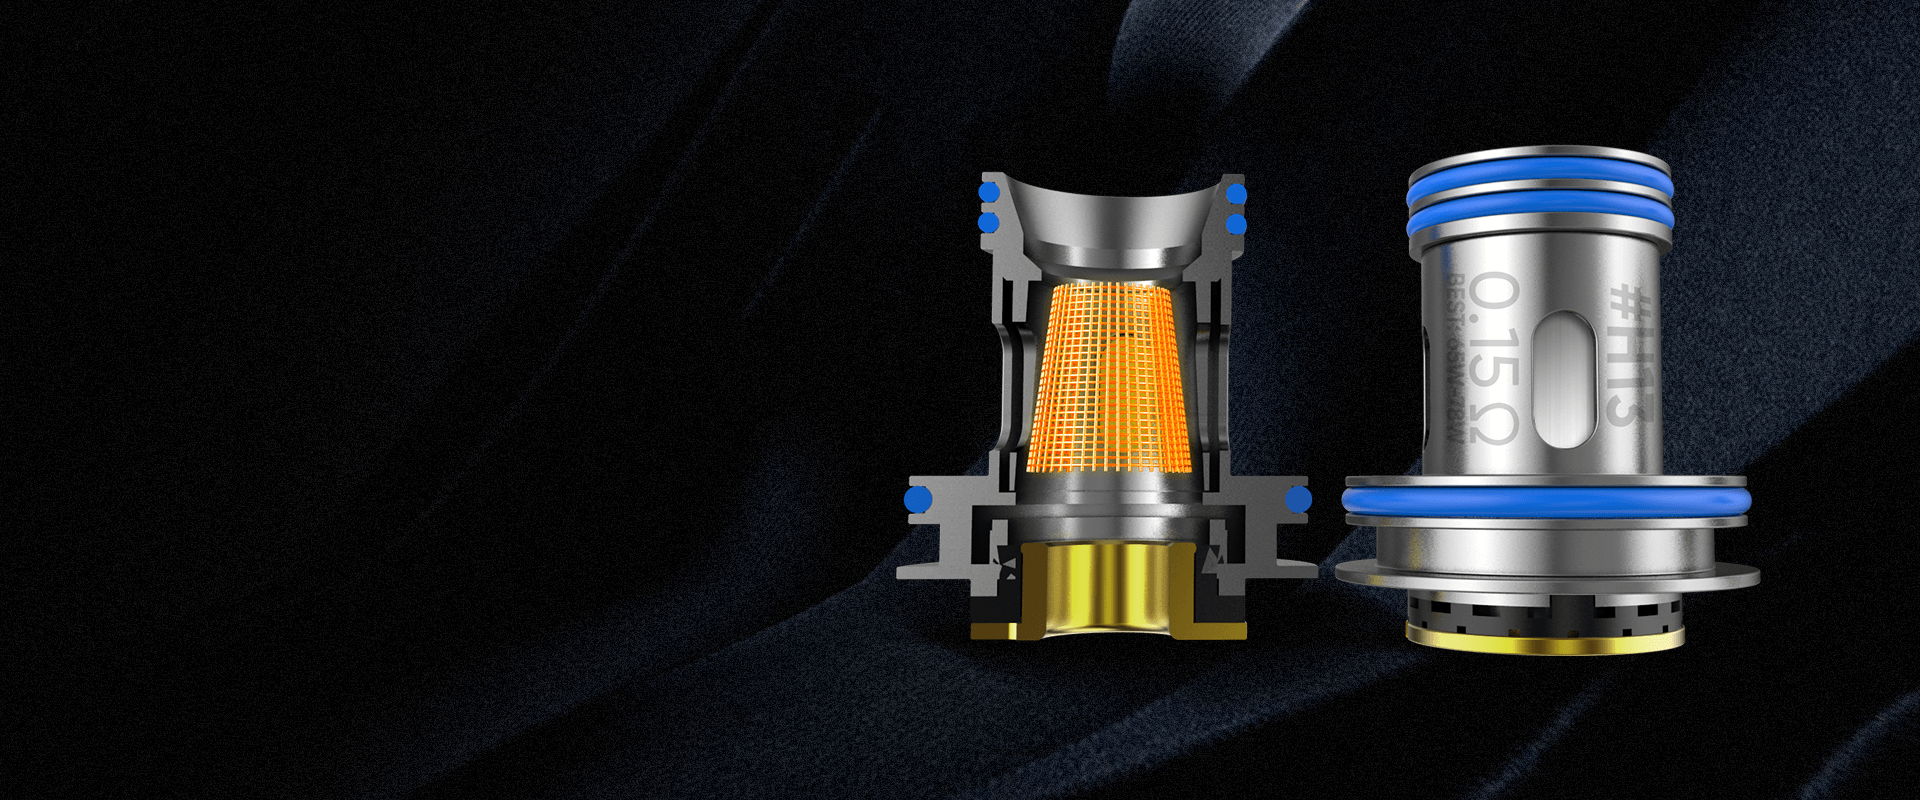
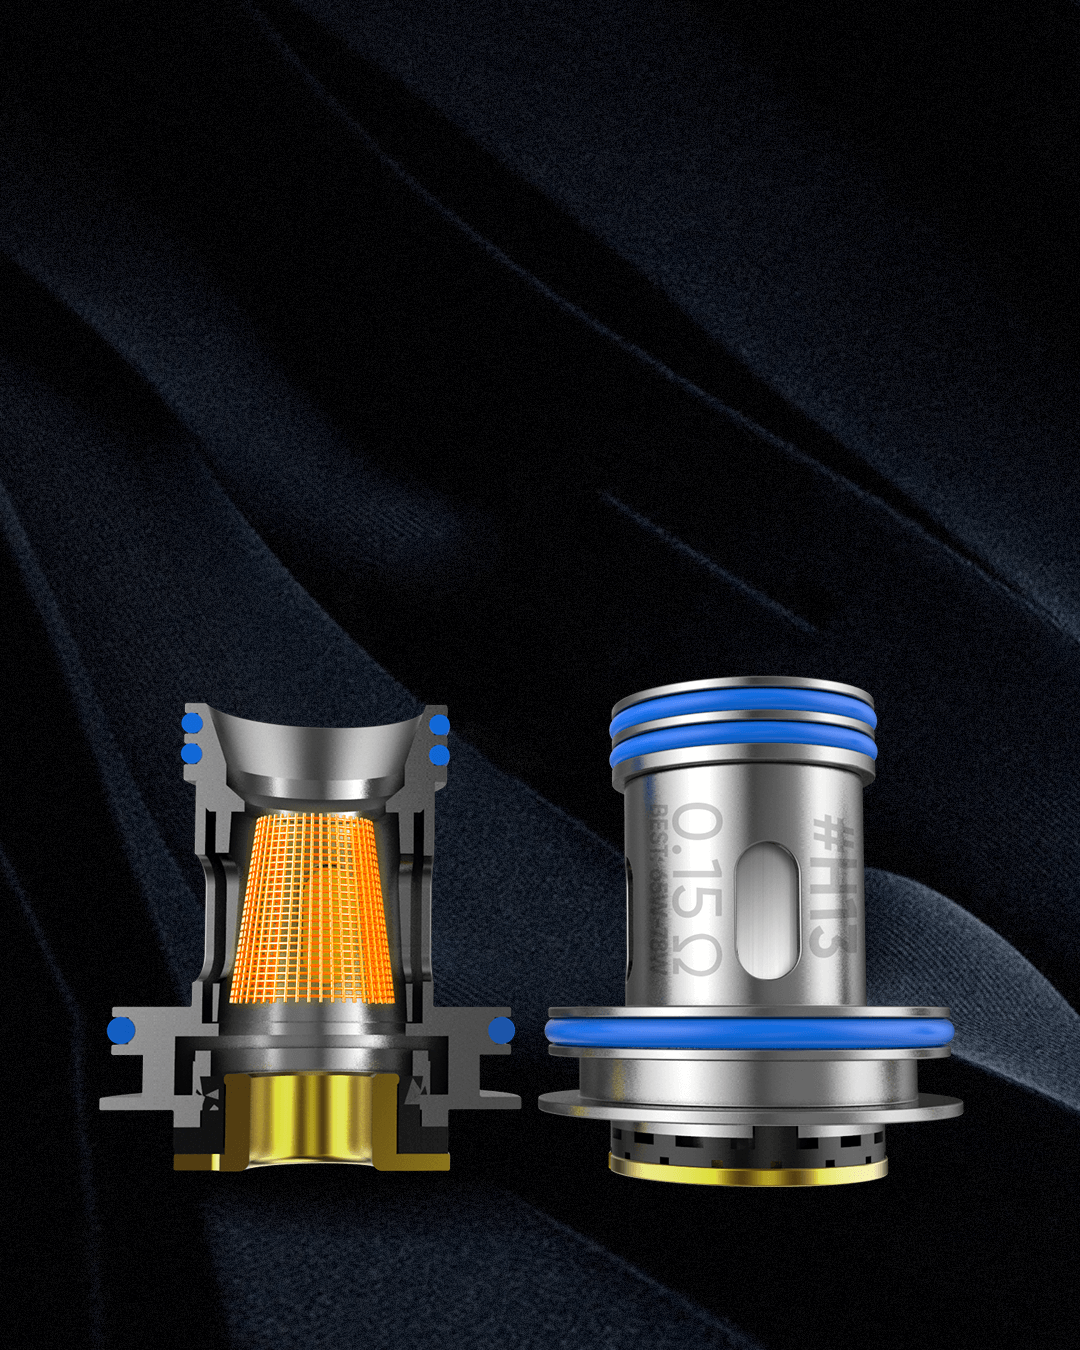
#H13 Single Conical Net MESH Coil
Combining high density netting with conical structure design, the Conical Net Mesh Coil is able to bring stronger and denser flavor production.
Resistance: 0.15Ω
Power Range: 50-80W
Best At: 65-78W
(Sold separately)
#H11 Single Conical nexMESH Coil
Iterated from our pioneering conical mesh core, this classic heating structure just rocks.
Resistance: 0.20Ω
Power Range: 50-70W
Best At: 60-70W
(Sold separately)
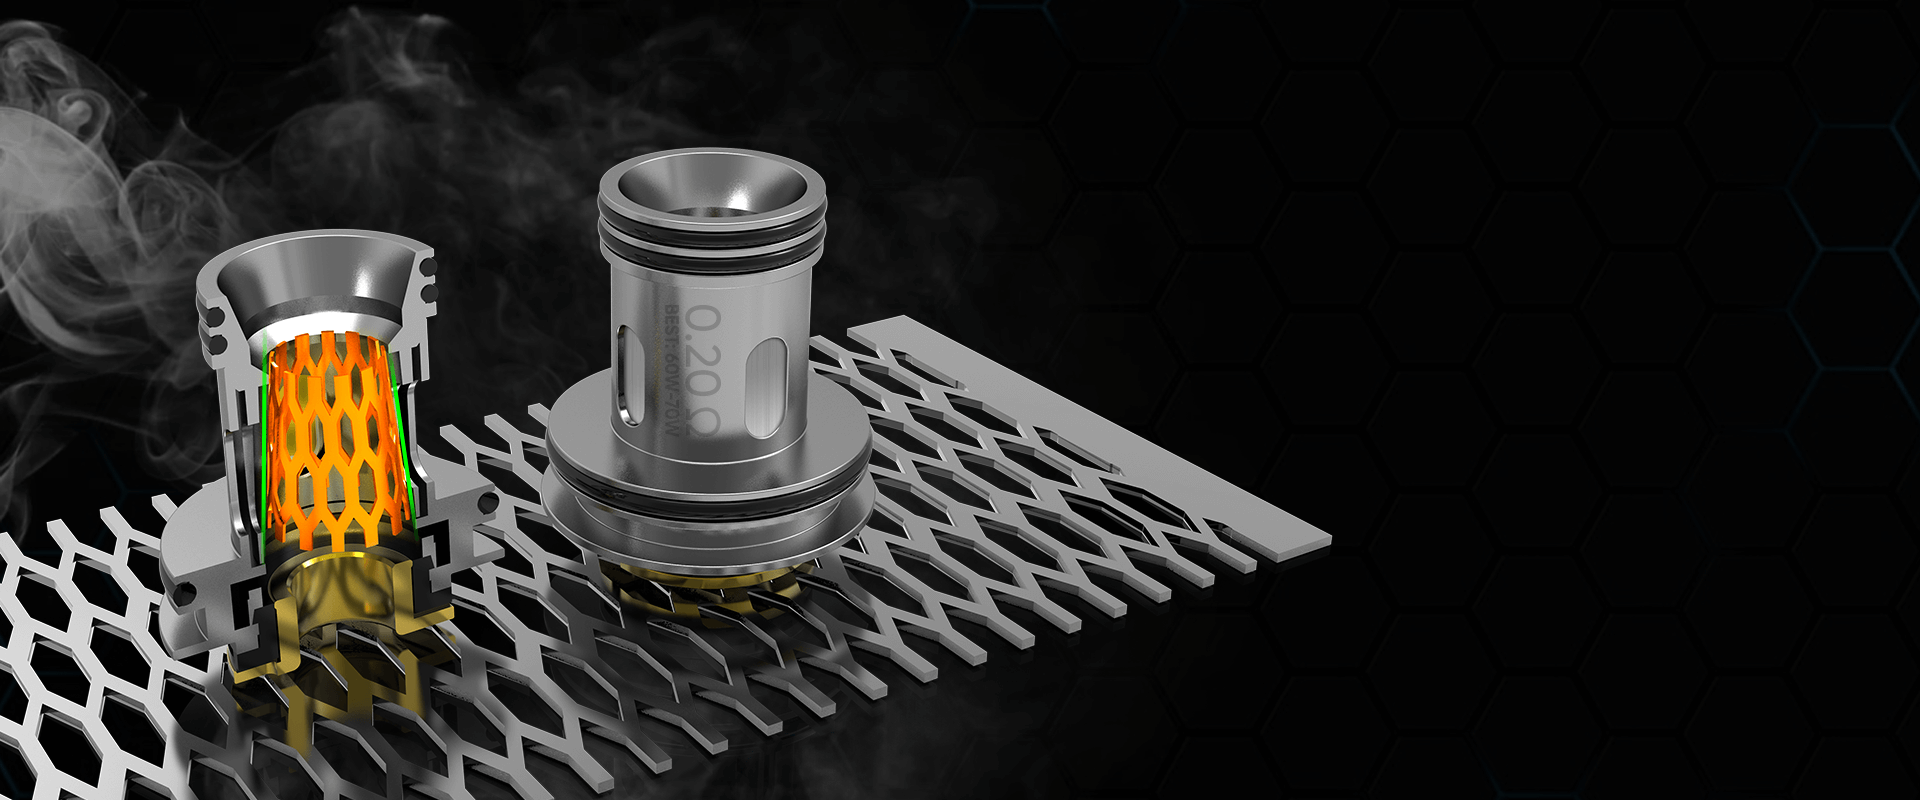
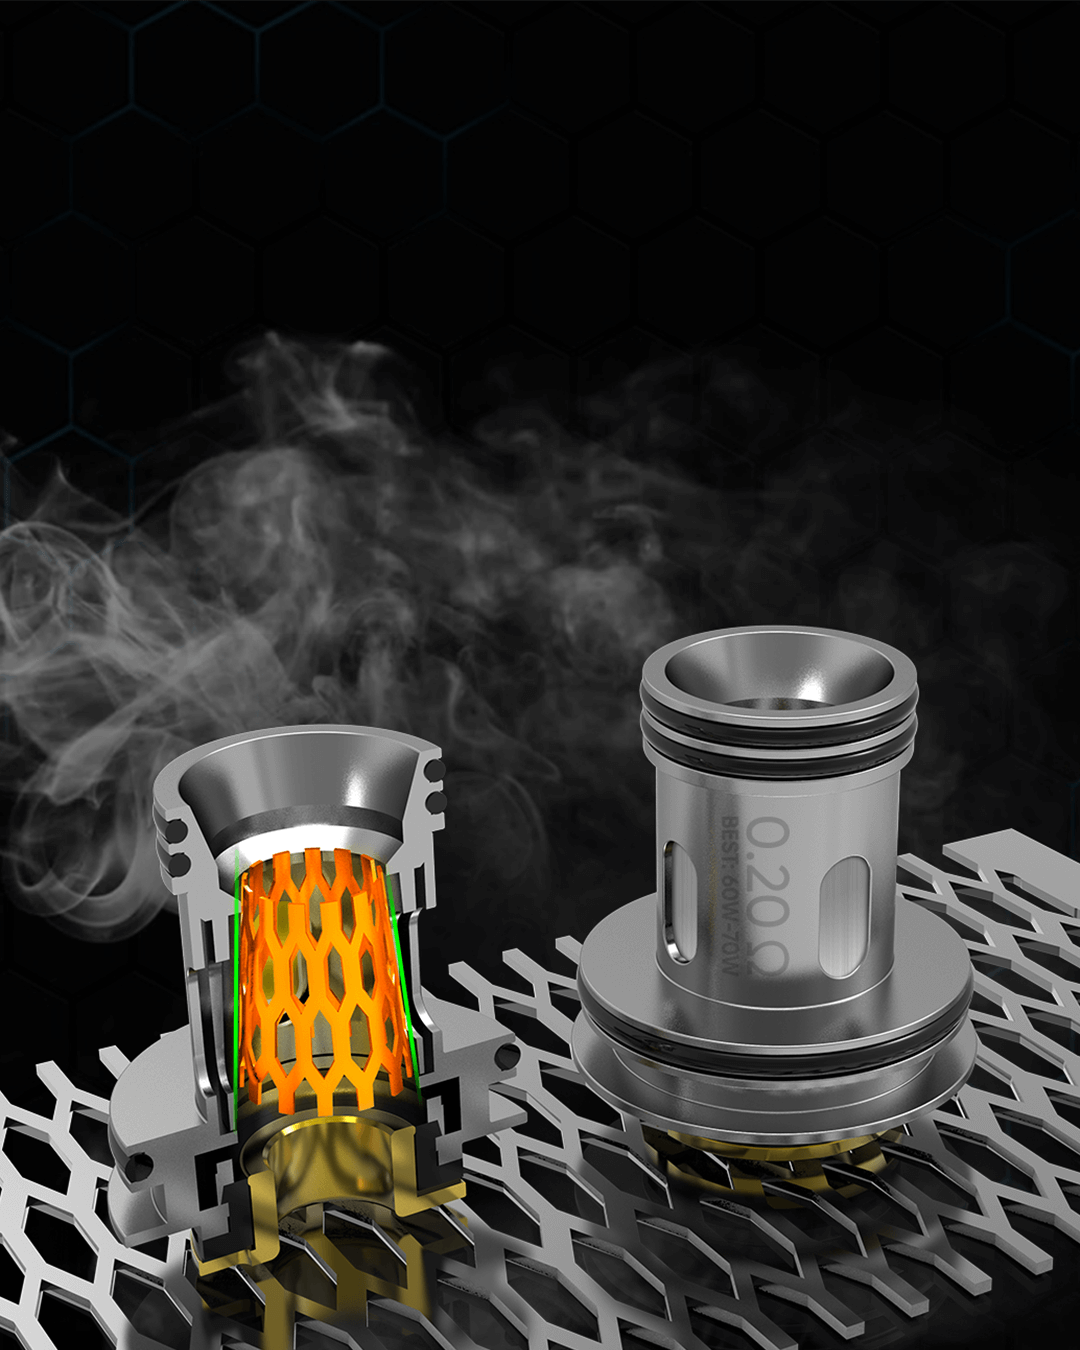
#H17 Rebuildable Deck
Rebuildable option is provided. The rebuildable deck features honeycomb air intake system and two-post coil securing structure to make rebuilding as easy as pie.
(Sold separately)
(Black, Gunmetal, SS Available)
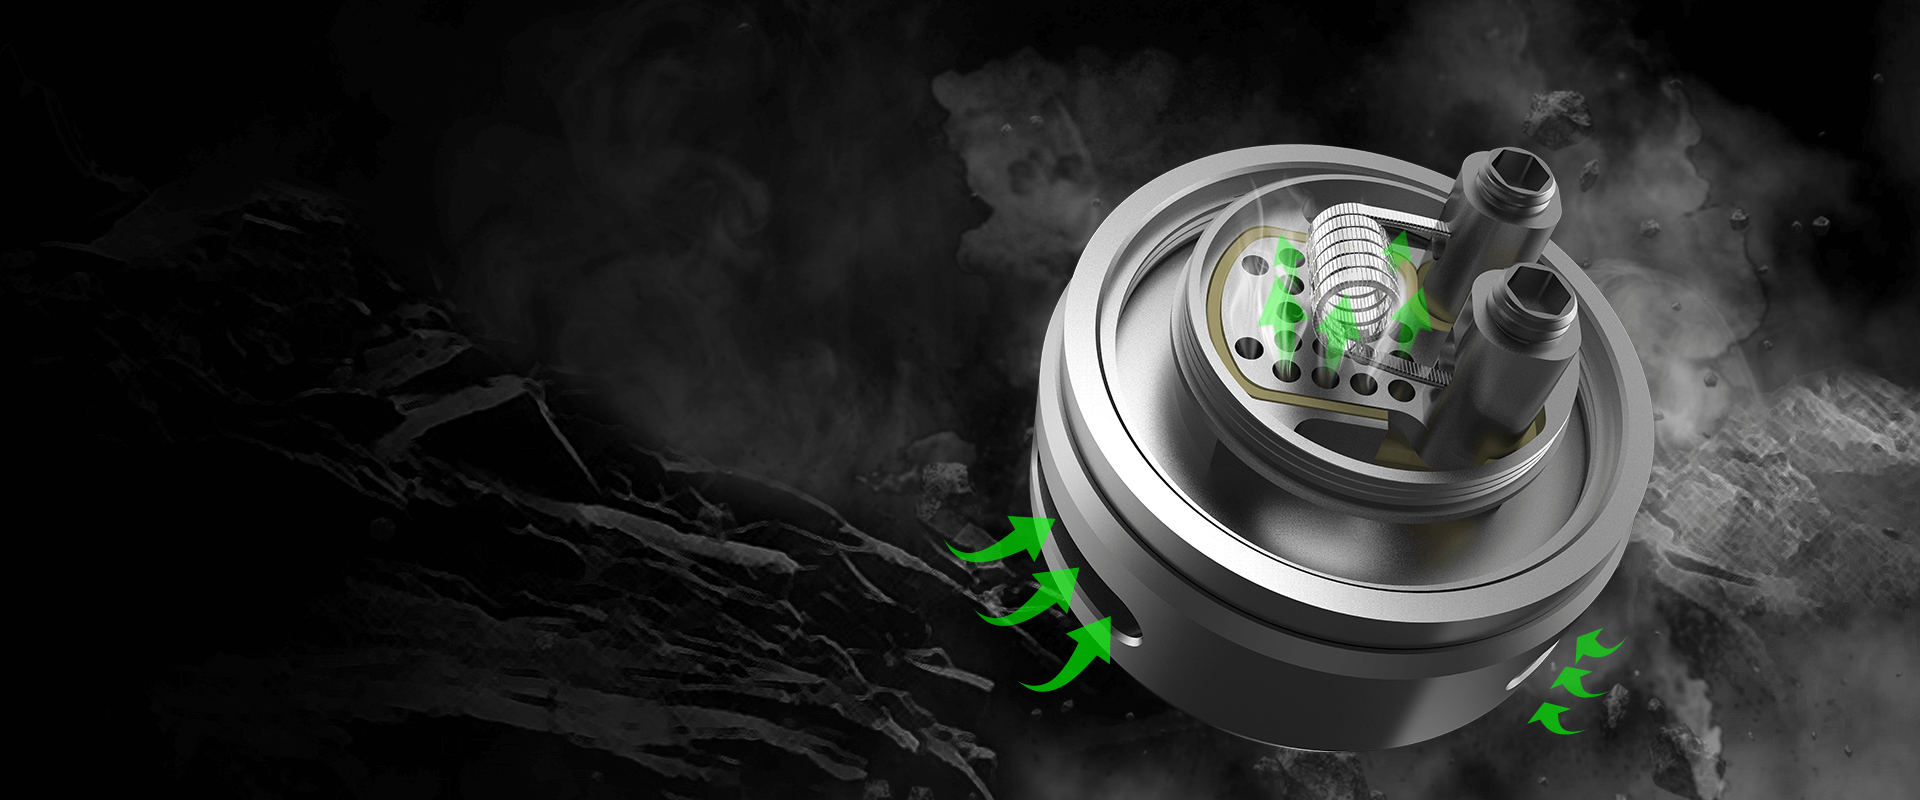
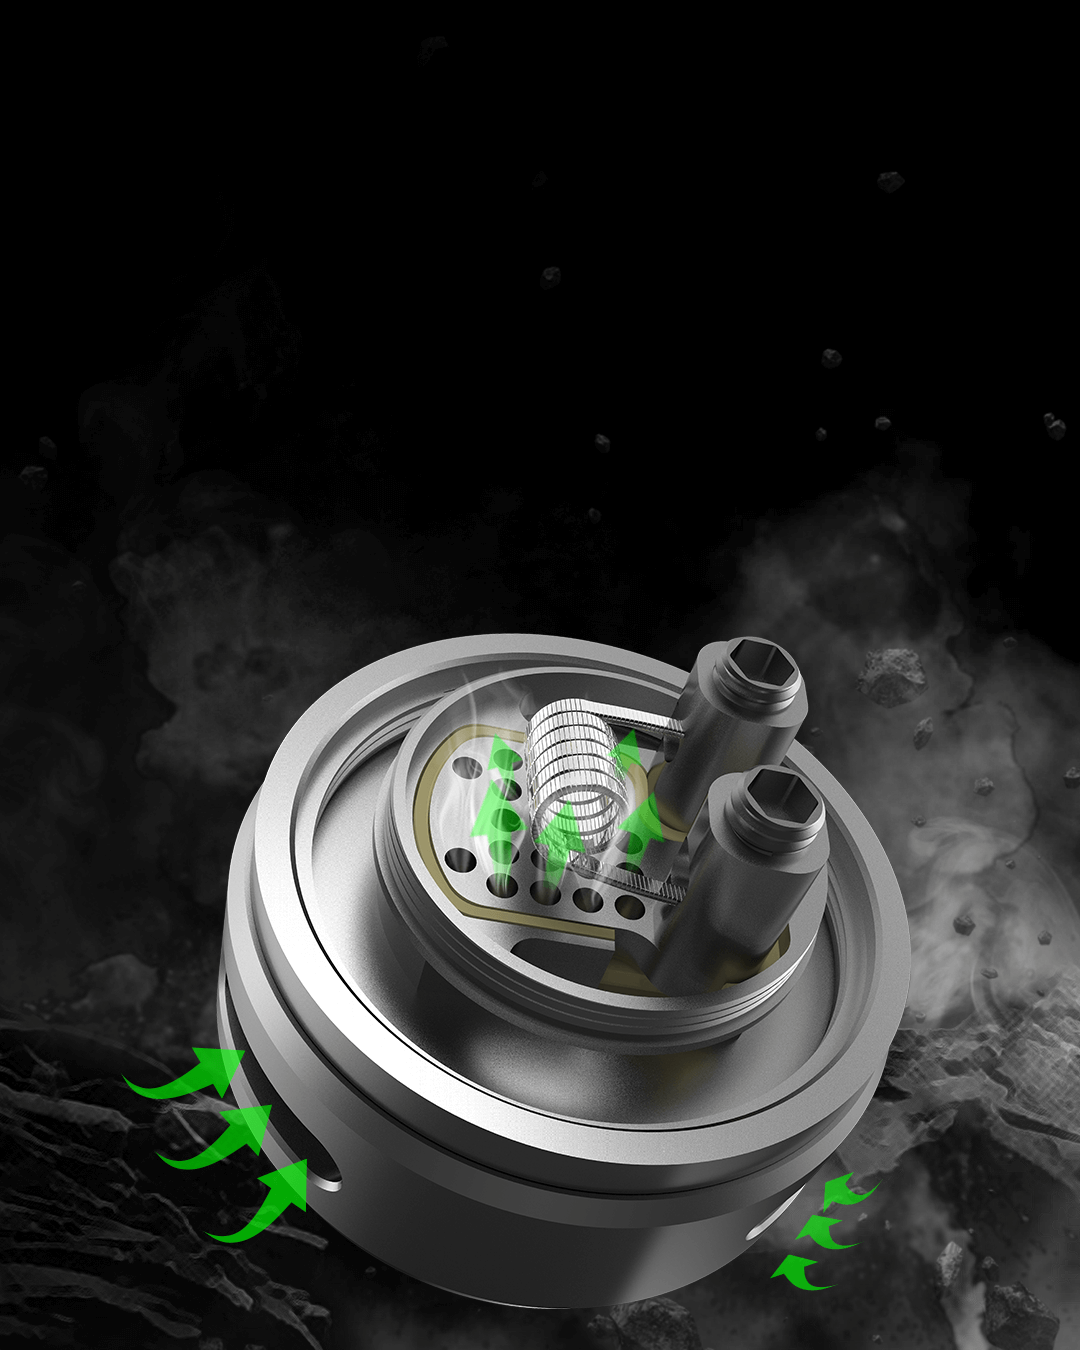
RBA BUILDING
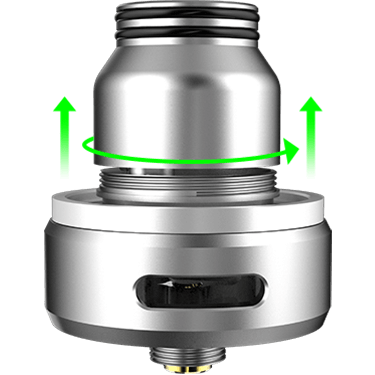
Screw the build deck onto your mod, then take off the coil cap.
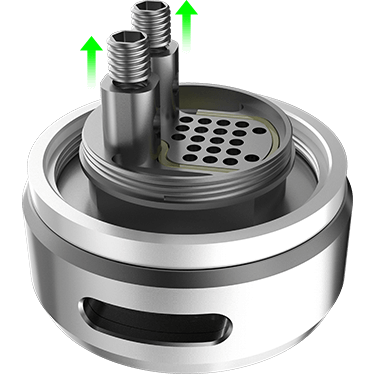
Loosen the screws.
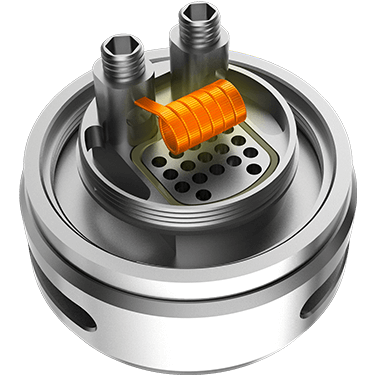
Install the coil and tighten the screws, then cut off excess coil leads. Dry burn the coil at 25W to make it heat evenly.
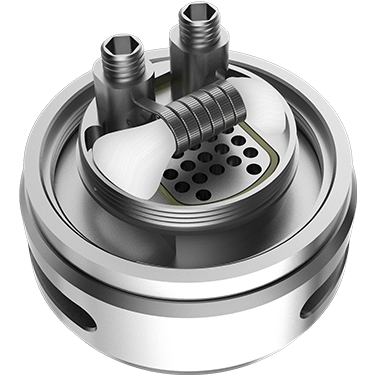
Insert the cotton, saturate the coil and cotton.
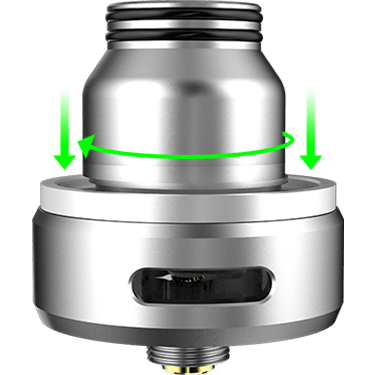
Put the coil cap back on, and then attach the deck back onto the tank, now it’s good to go.
Steps to Fill the Tank
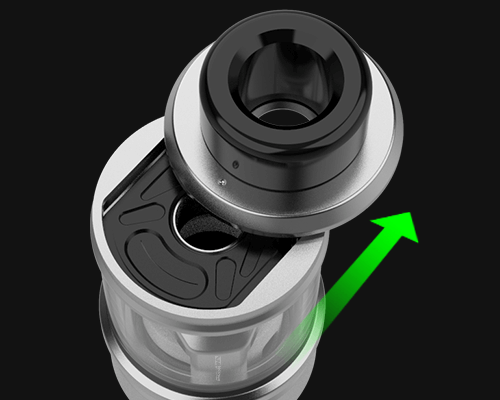
01
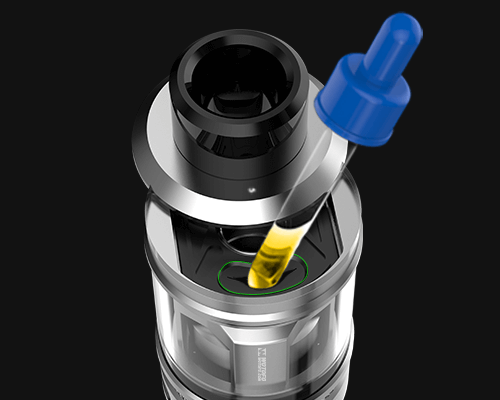
02
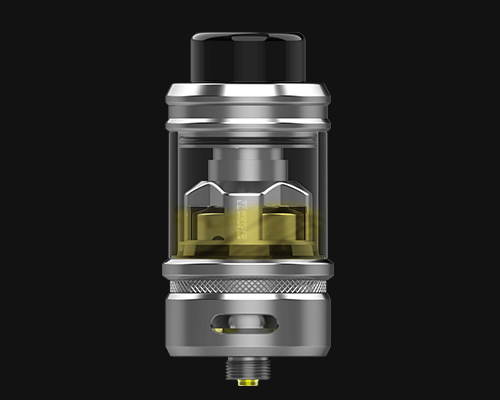
03
